Assign Permissions
Step-by-step guide: assigning permissions for users and groups in octoja.
Written By Erdinc Akay
Last updated 17 days ago
Access in octoja is controlled through groups. Each group decides three things: which permissions its members hold, which customers they can reach (Customer Access), and which devices they can reach and what they may do on them (Device Access). When you add a user to a group, they inherit all of that group's access. There are no built-in roles — you build your own access model by creating groups that grant exactly what your team needs.
Before you start
- You need the Group Management permission (
groups.manage) to create or edit groups. - You need the User Management permission (
users.manage) to add users to groups.
Assign permissions to a group
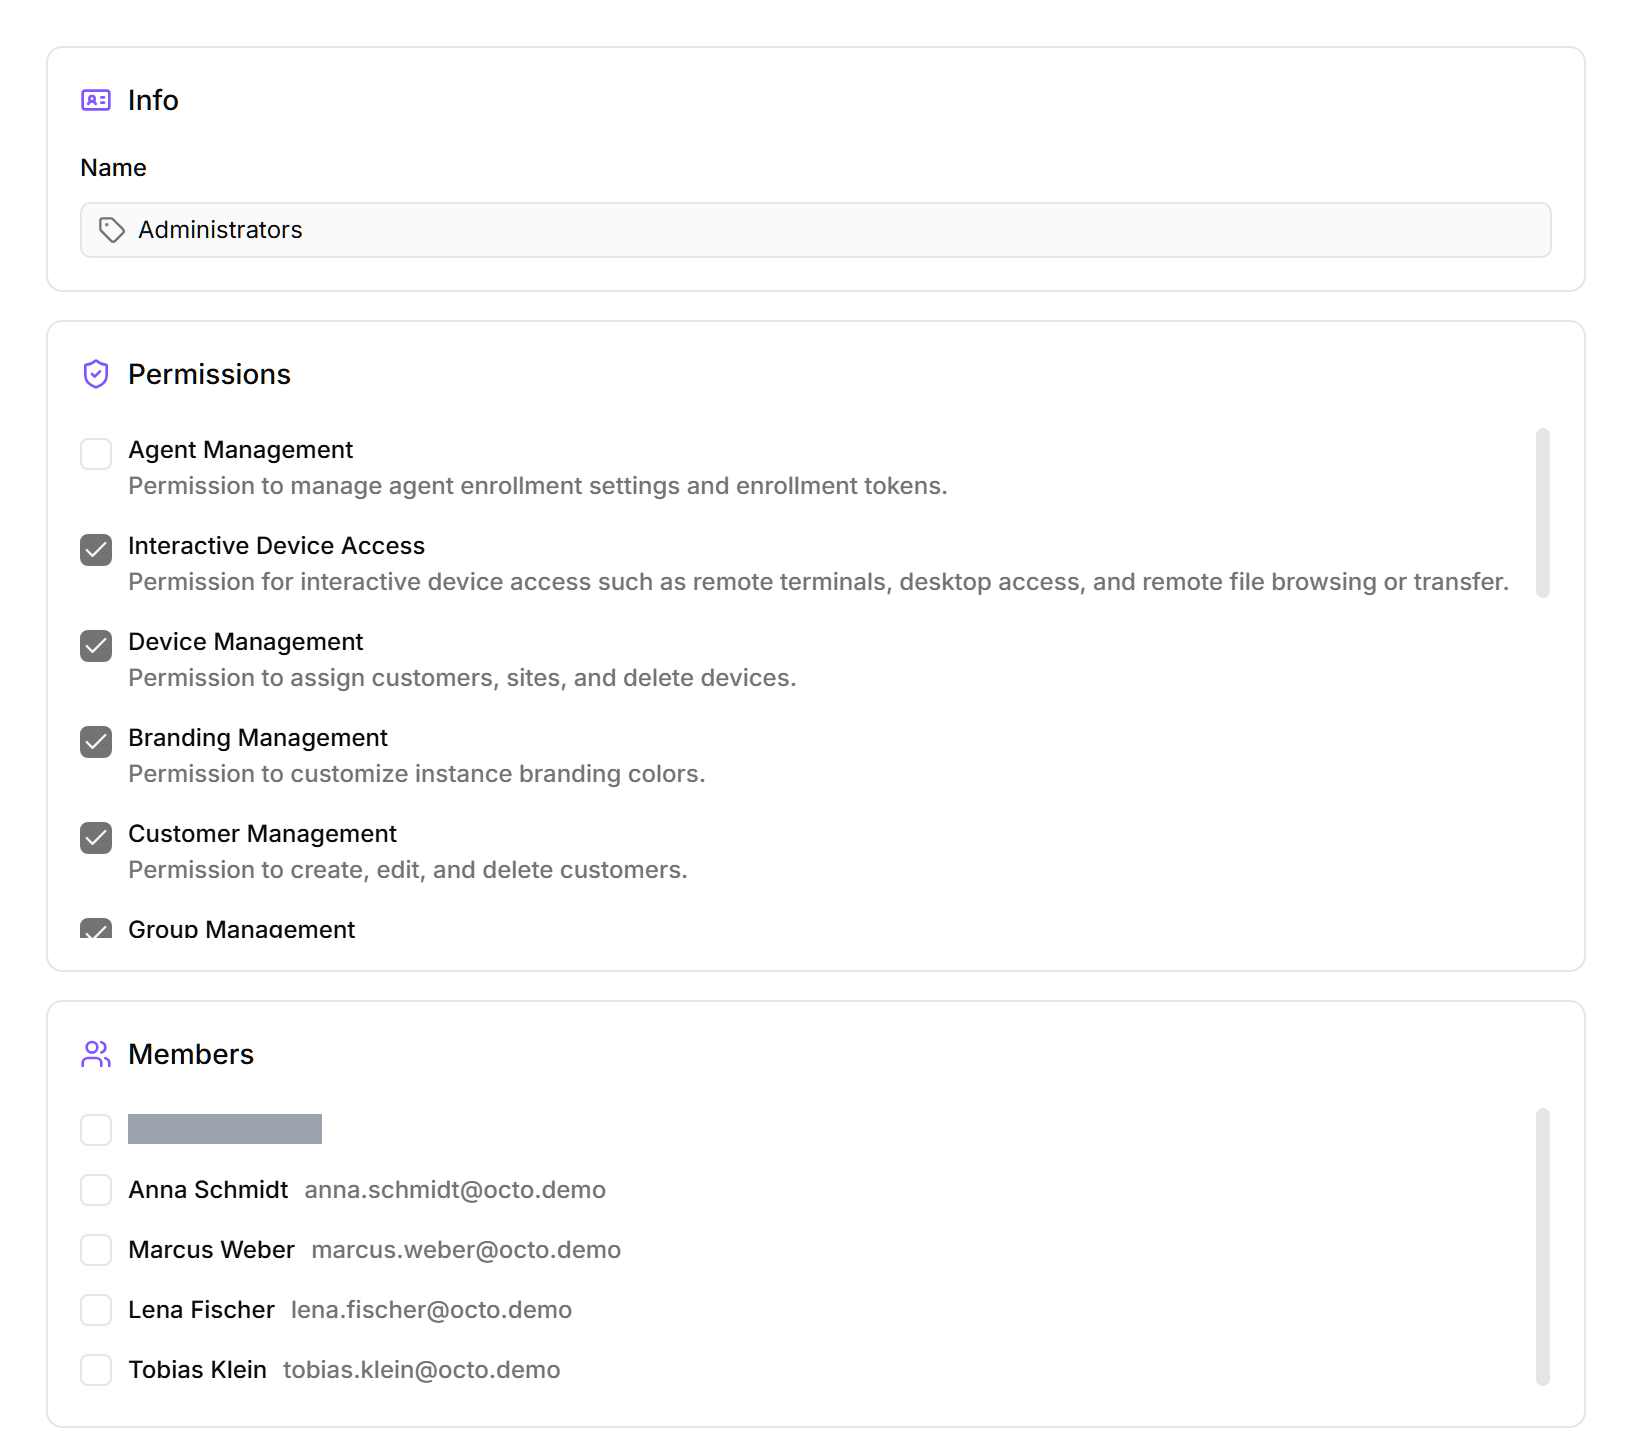
The group editor has three tabs — General, Customer Access, and Device Access. Together they decide what a group's members may do, which customers they see, and which devices they can reach.
- Go to Administration → Groups.
- Click an existing group, or click Add Group to create a new one (see Create a Group).
- On the General tab, name the group and, under Permissions, select the permissions it should grant. To have the group receive newly added permissions from future updates automatically, turn on the Administrator group toggle.
- On the Customer Access tab, choose which customers members reach: Access all customers, a list of Specific customers, or Customer tag rules.
- On the Device Access tab, choose which devices members reach — Reach all devices or device rules — and select the Allowed actions they may perform on those devices. Leaving the actions empty gives read-only device access.
- Click Save.
All available permissions
octoja has 23 permission strings, and each group also scopes which customers and devices its members can reach. A user gets a permission if any of their groups grants it.
Customer and device access
A group does more than grant permissions — it also scopes which customers and devices its members reach, on the same group page:
- Customer Access — Access all customers, a list of Specific customers, or Customer tag rules that match customers by tag.
- Device Access — Reach all devices or limit reach with device rules, plus the Allowed actions members may perform on those devices. No allowed actions means read-only device access.
This is how you give a help-desk group read-only access to one customer's workstations without affecting anyone else. To confirm the result, open Access Overview, which shows who can reach which customers and devices — and why.
Add a user to a group
To create a new user account first, see Create a User.
- Go to Administration → Users.
- Click the user you want to modify.
- Under Groups, select the groups to assign.
- Click Save.
A user can belong to multiple groups. Their effective permissions are the union of all permissions across all their groups — for example, if Group A grants tickets.manage and Group B grants monitoring-checks.manage, the user gets both.
Self-protection
The platform protects the groups.manage permission system-wide: at all times, at least one user must retain groups.manage. You may remove groups.manage from yourself as long as someone else still has it, but the platform blocks the change that would leave no user with this permission. This way, the tenant cannot be locked out of group administration.
Other permissions, including users.manage, are not guarded — be careful when removing them from your own groups.
Example group configurations
Tip: A user with no group membership has no permissions. They can still sign in and view their own profile, but cannot access any other section of octoja.