Set up the Hudu integration
Connect octoja to Hudu so you can import customers from Hudu and sync your devices into Hudu as assets on an hourly schedule.
Written By Stefan Steuer
Last updated 26 days ago
Set up the Hudu integration
The Hudu integration connects octoja to your Hudu documentation platform. Once connected, you can import your customers from Hudu and sync your devices into Hudu as assets, so the hardware octoja manages shows up in the same place your team keeps the rest of its documentation.
What the integration does
The connection runs in two directions:
- Customer import — octoja maps your customers to Hudu companies. You can match them by hand or let octoja propose matches automatically, and you can pull customers in from Hudu.
- Device sync — octoja creates or updates a Hudu asset for each device you manage. Assets are deduplicated per company (by a saved link, then the device ID, then the serial number, then the name), and devices are never deleted in Hudu. The sync can run automatically every hour.
Each kind of device (Windows Server, Windows Workstation, Linux Server, Linux Desktop, macOS) is mapped to a Hudu asset layout that defines its fields. octoja can create a ready-made layout for you, so you do not have to build one in Hudu first.
Prerequisites
- An active Hudu instance (self-hosted or Hudu Cloud) where you are an administrator.
- The Integration Management permission in octoja, granted via groups under Administration → Groups. This permission lets you connect external platforms and change their settings.
Step 1 — Create an API key in Hudu
octoja talks to Hudu through a Hudu API key. Create one in the Hudu admin area.
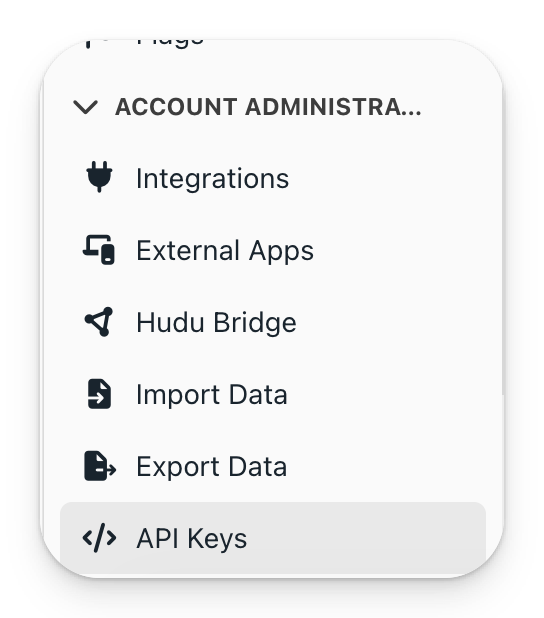
- In Hudu, open the Admin area and, under Account Administration, click API Keys.
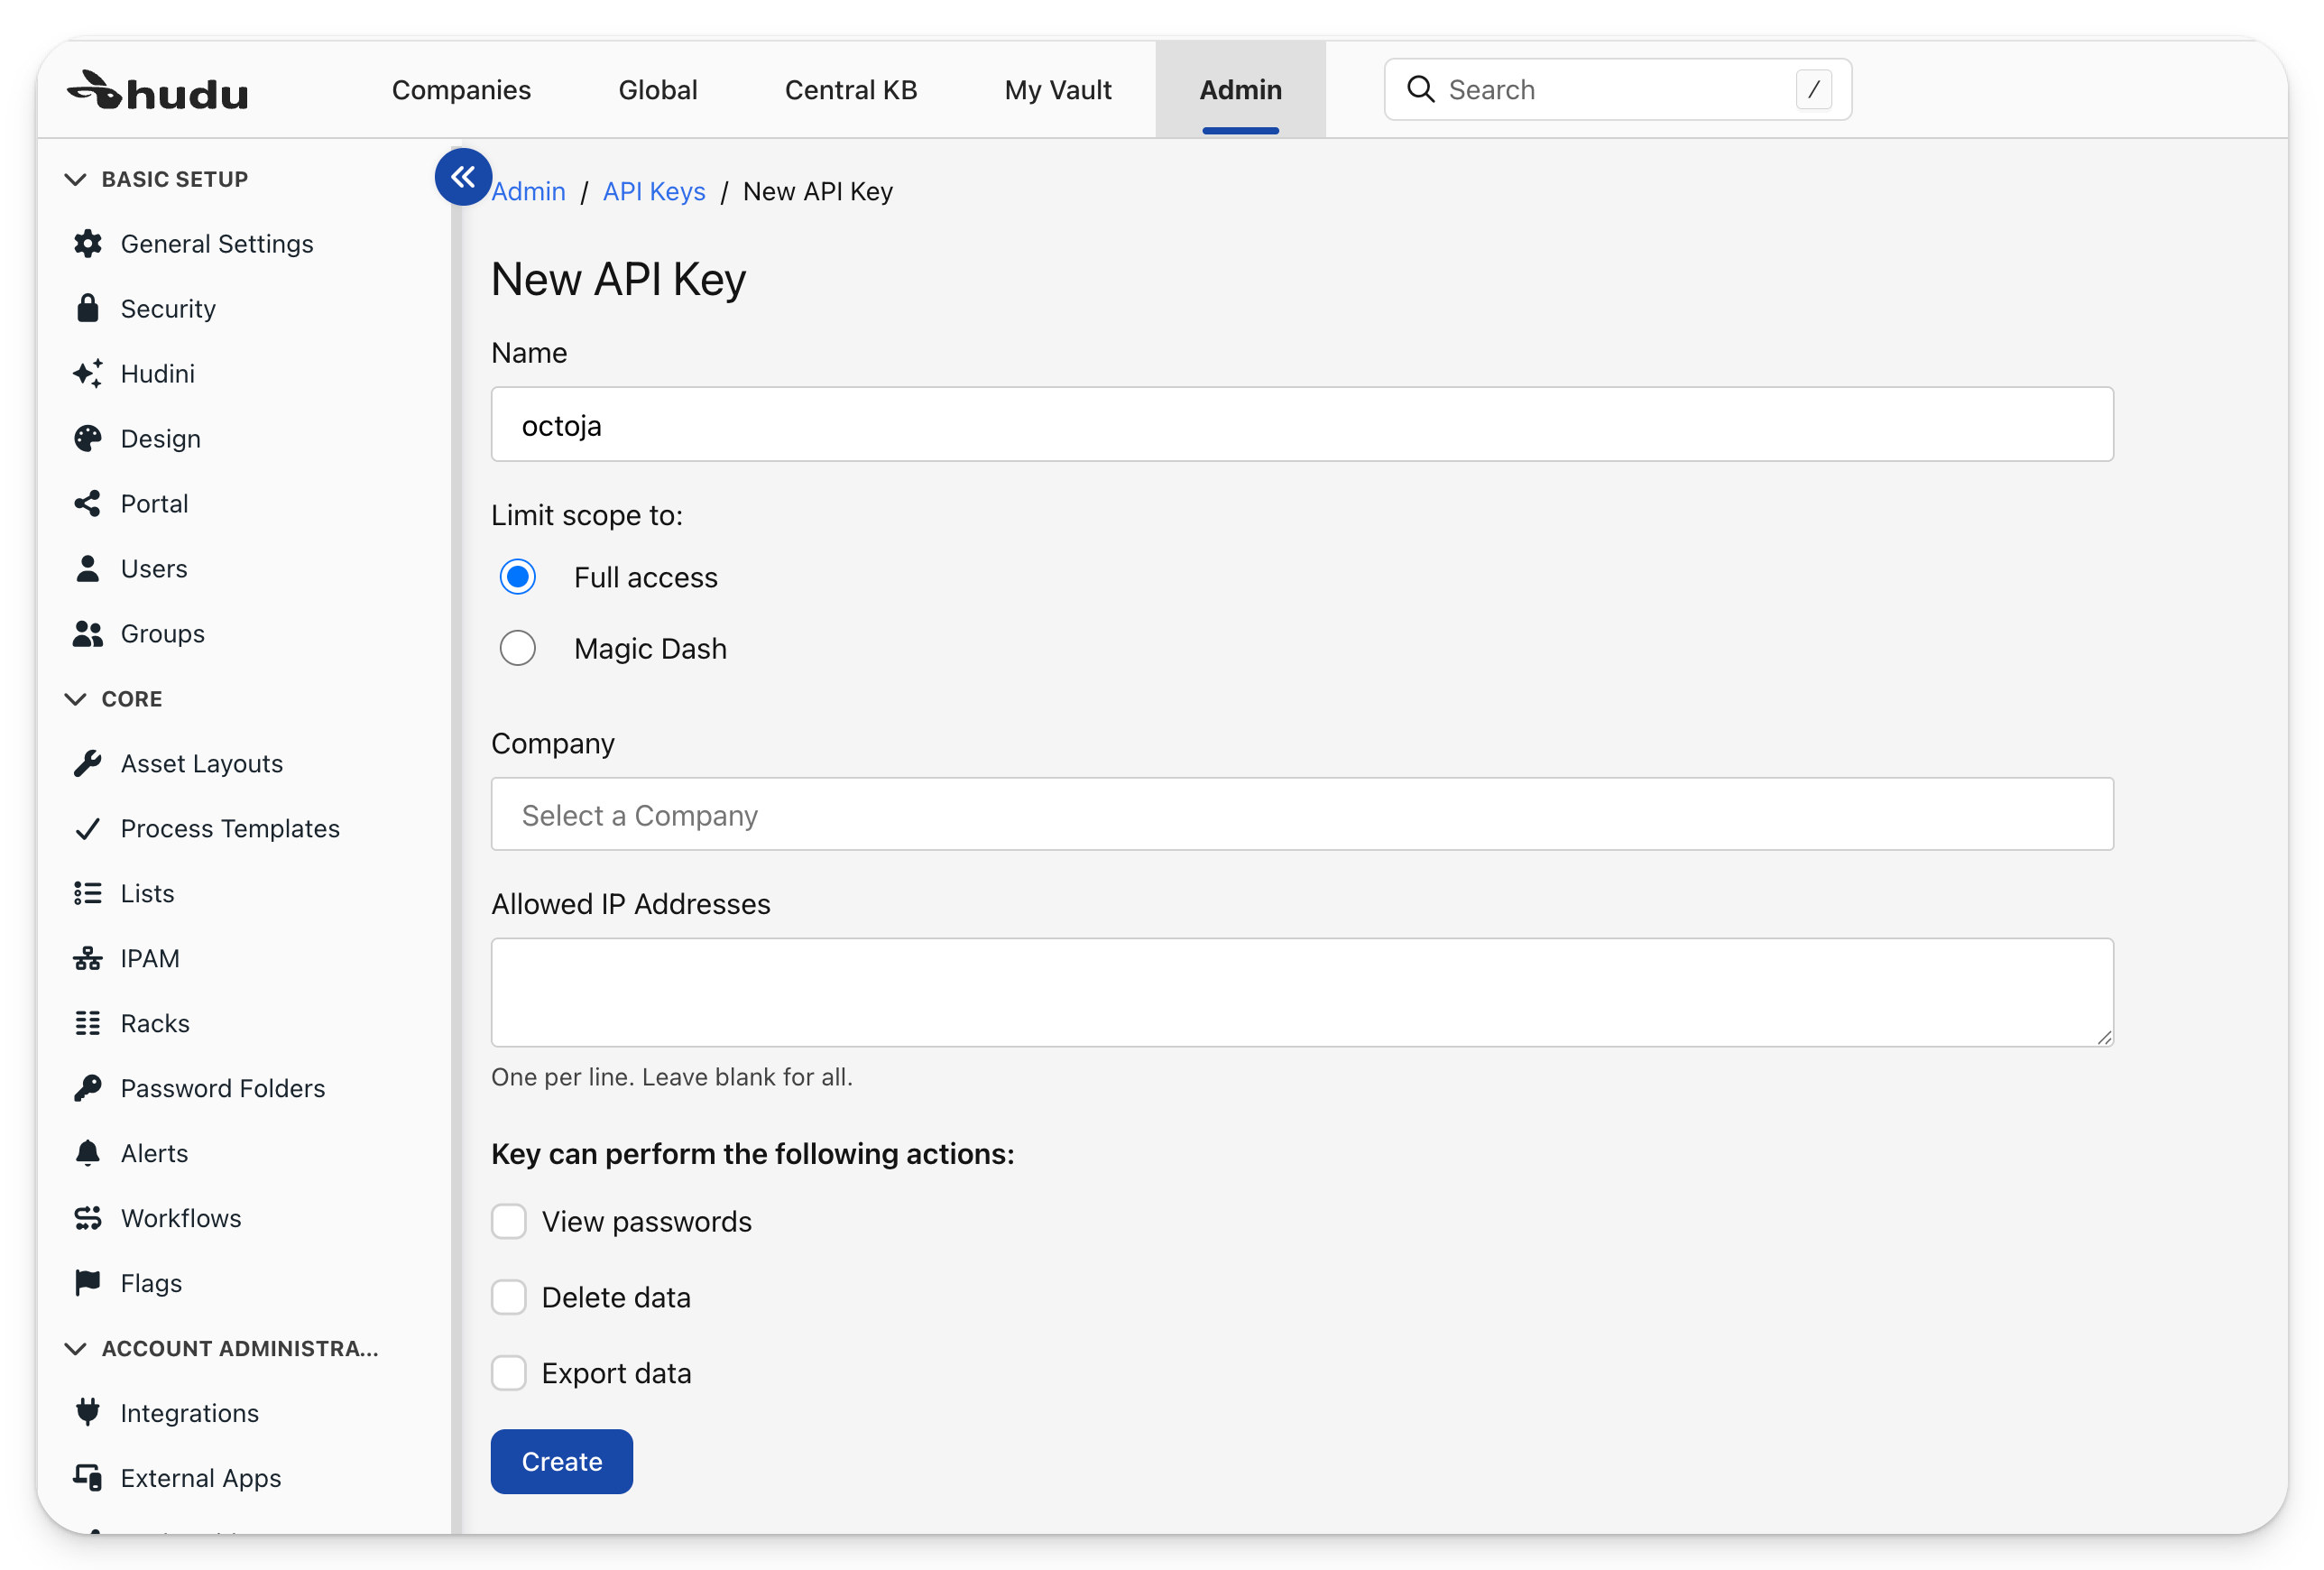
- Click + New API Key, give it a name such as
octoja, and leave the scope on Full access. Leave Company empty so the key can see every customer, and leave Allowed IP Addresses blank unless you restrict access by IP. Then click Create.
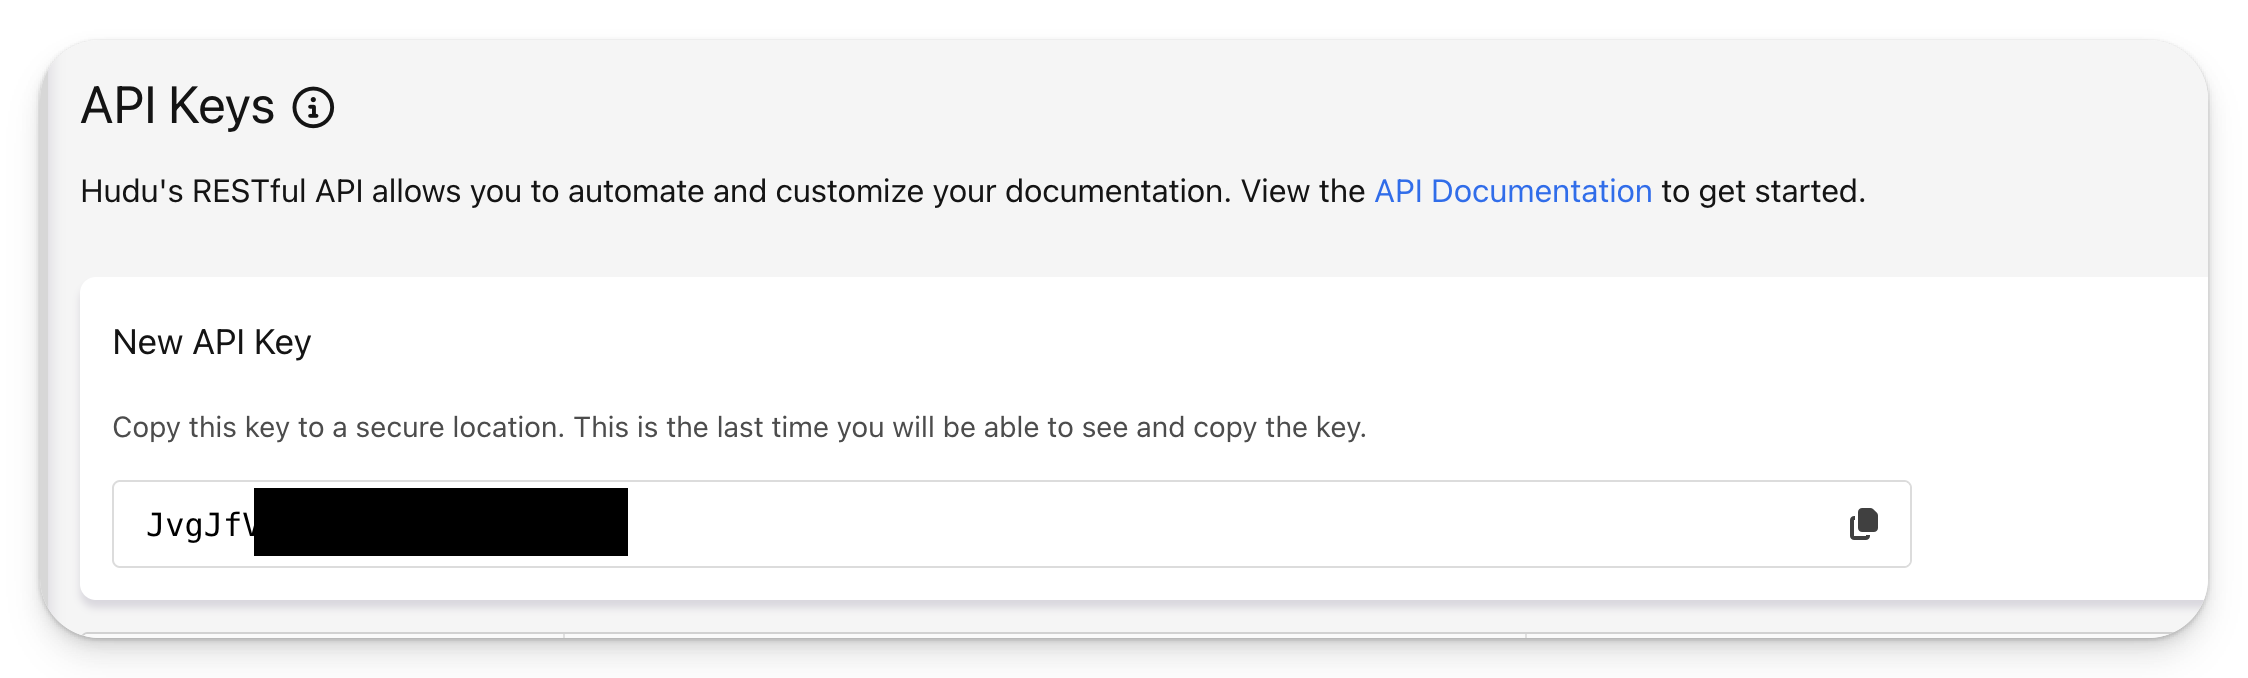
- Hudu shows the key once. Use the copy icon to copy it to a secure place — this is the only time the key is shown.
Step 2 — Copy your Hudu instance URL
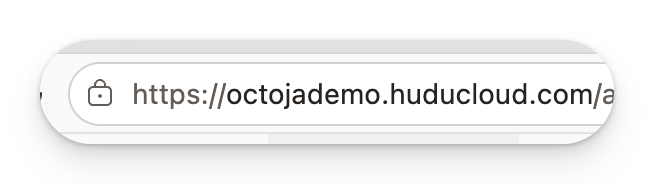
octoja also needs the address of your Hudu instance. Copy it from your browser's address bar — only the base address (for example https://yourcompany.huducloud.com), without any path after it.
Step 3 — Connect Hudu in octoja
Now enter both values in octoja to establish the connection.
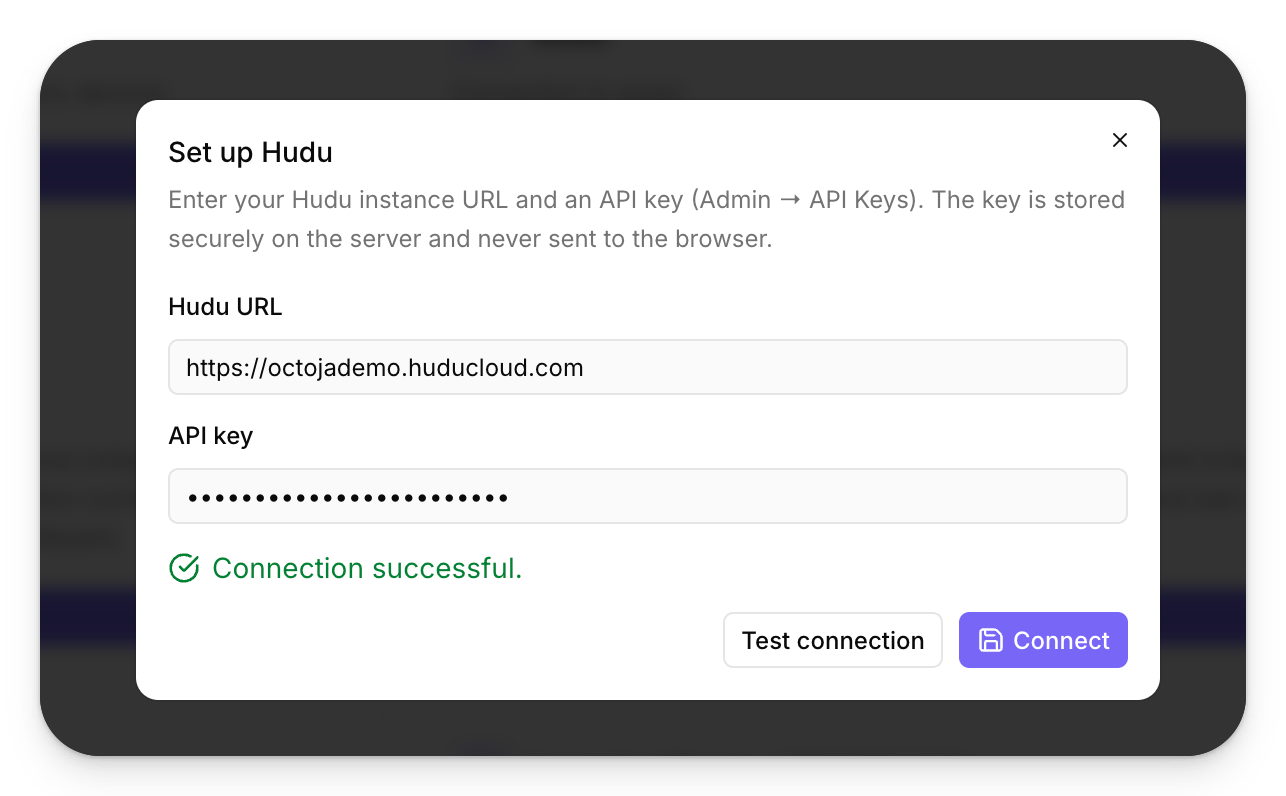
- In octoja, go to Administration → Integrations, find the Hudu card, and click Set up. This opens the Set up Hudu dialog.
- Paste your Hudu URL and the API key you created. The key is stored securely on the server and is never sent to the browser.
- Click Test connection to confirm octoja can reach Hudu. When you see Connection successful, click Connect.
Step 4 — Map customers and devices
After connecting, the Hudu integration page opens on its Configuration tab, where you finish the setup.
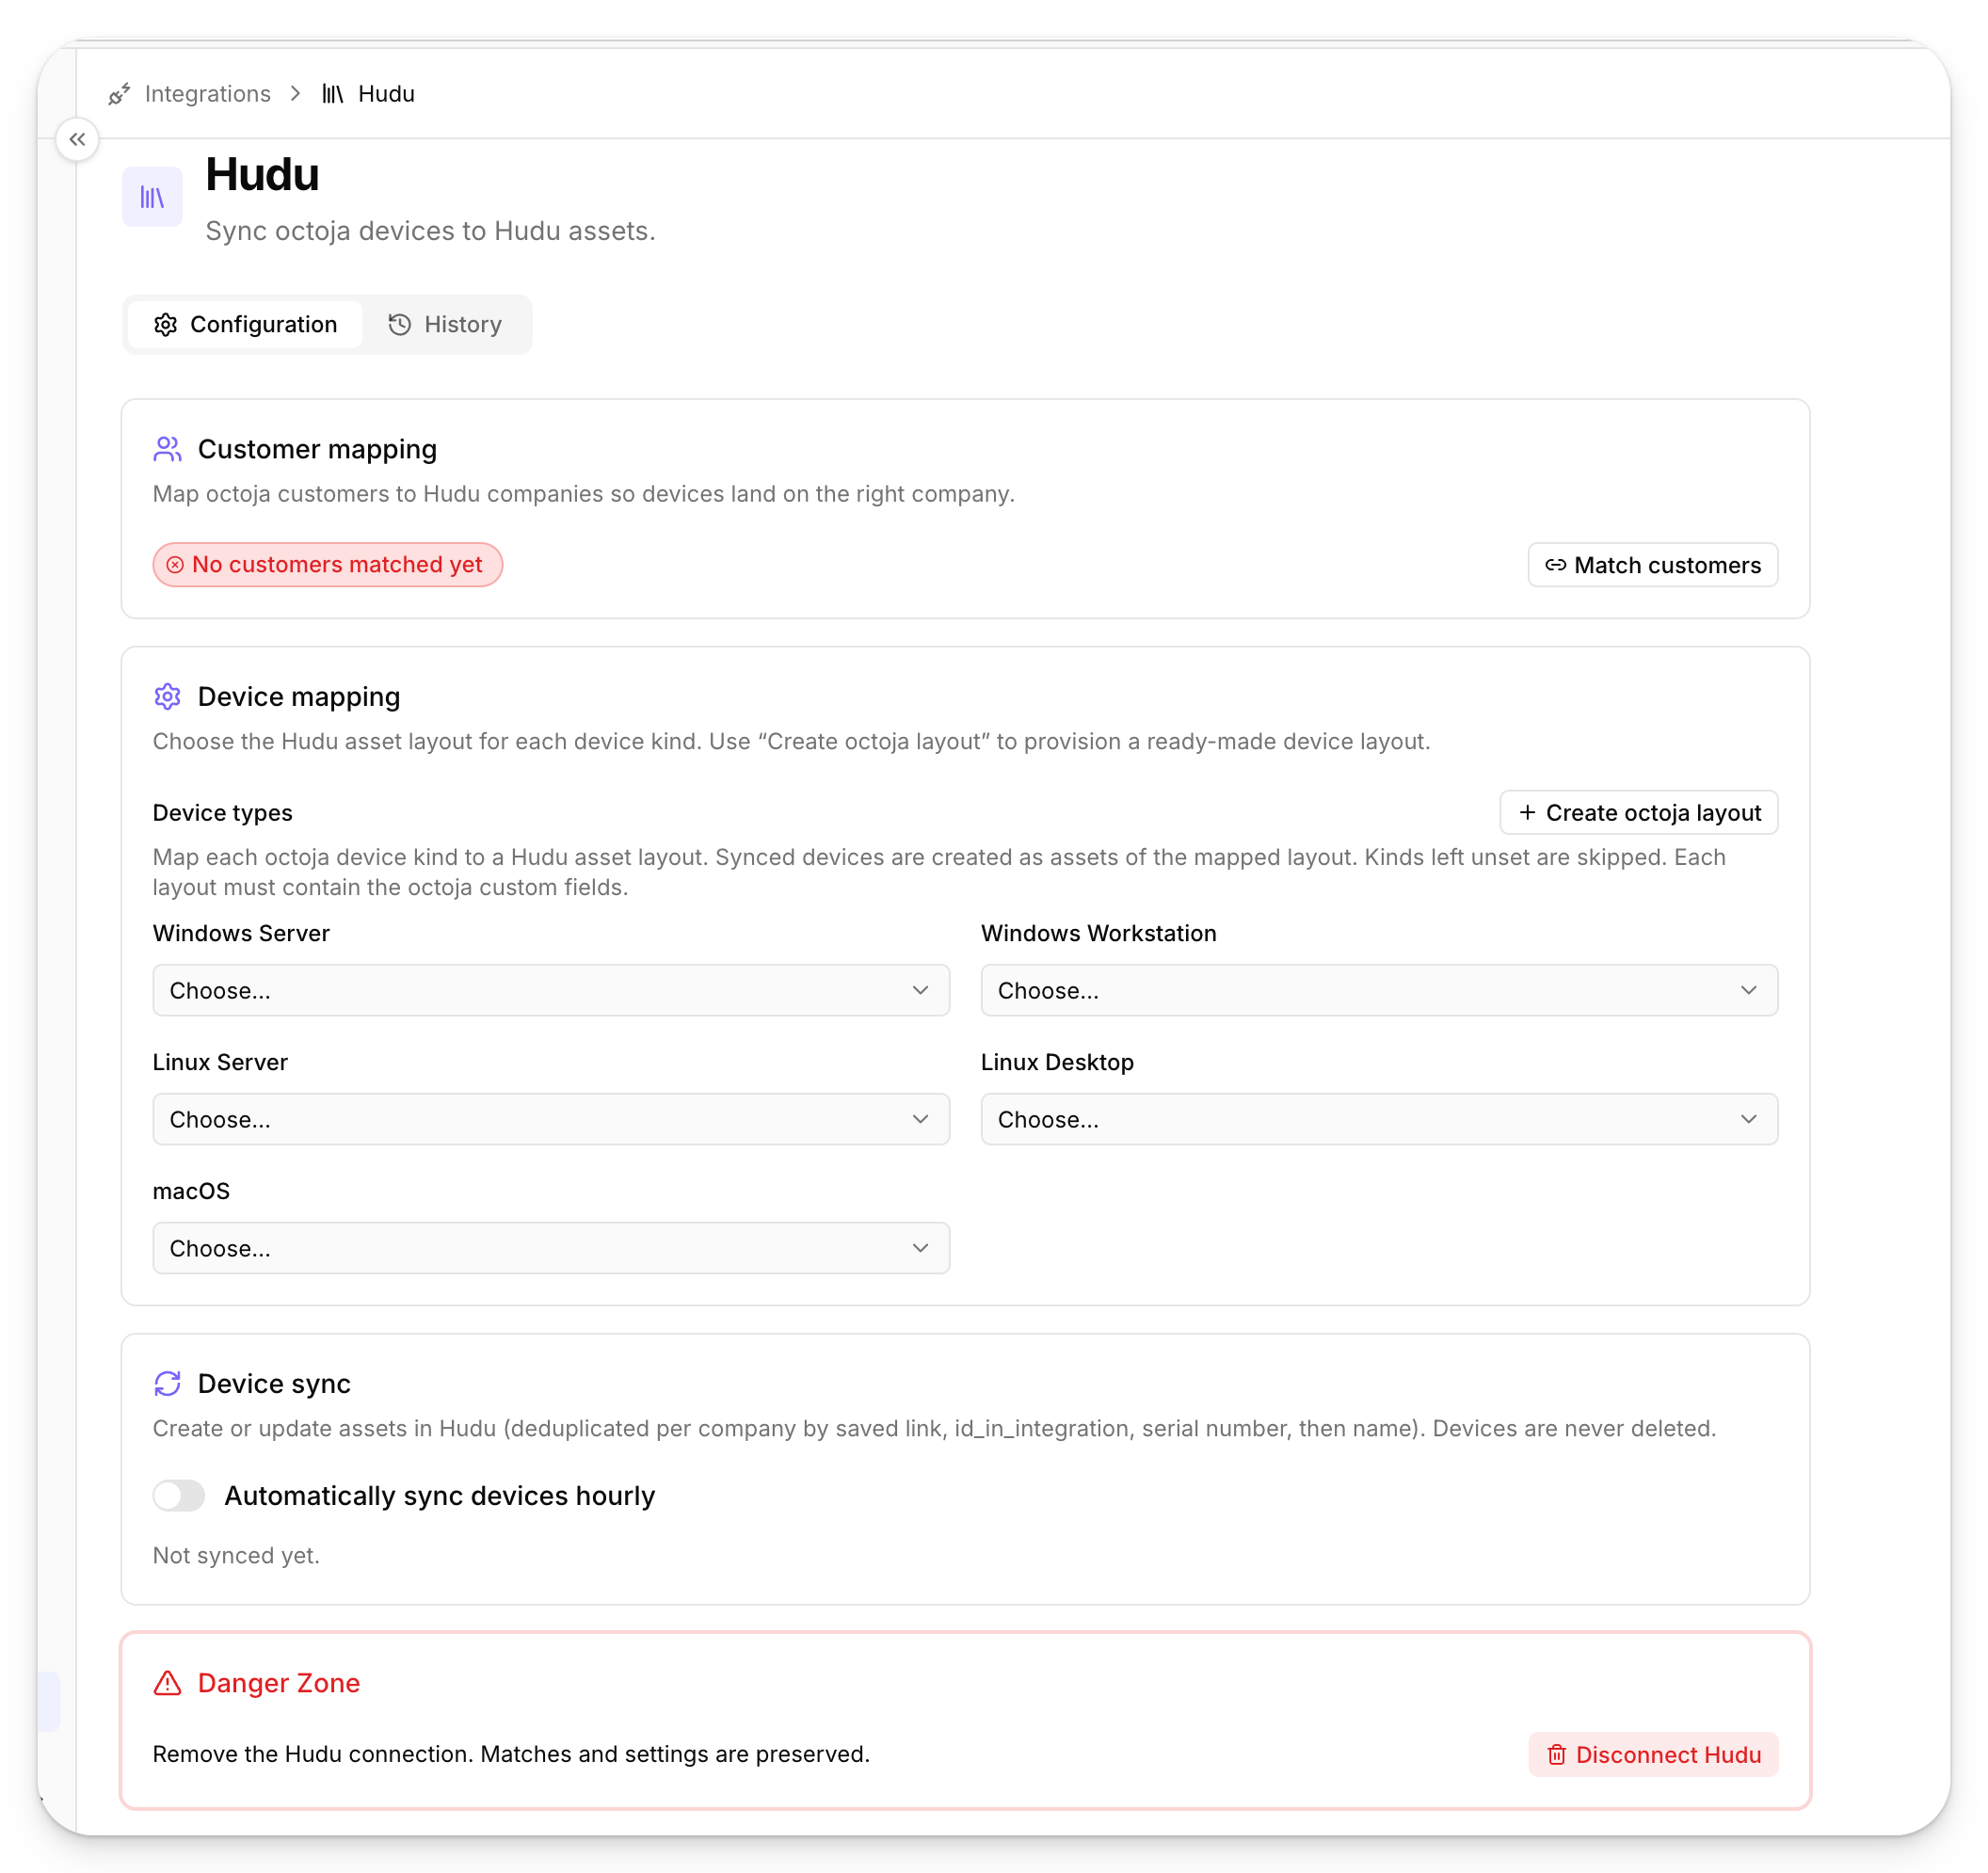
Save your settings when you are done.
Step 5 — Create the octoja device layout in Hudu
Clicking Create octoja layout builds a ready-made asset layout in Hudu named octoja Device, so you do not have to define the fields yourself. It contains the fields octoja fills in during sync.
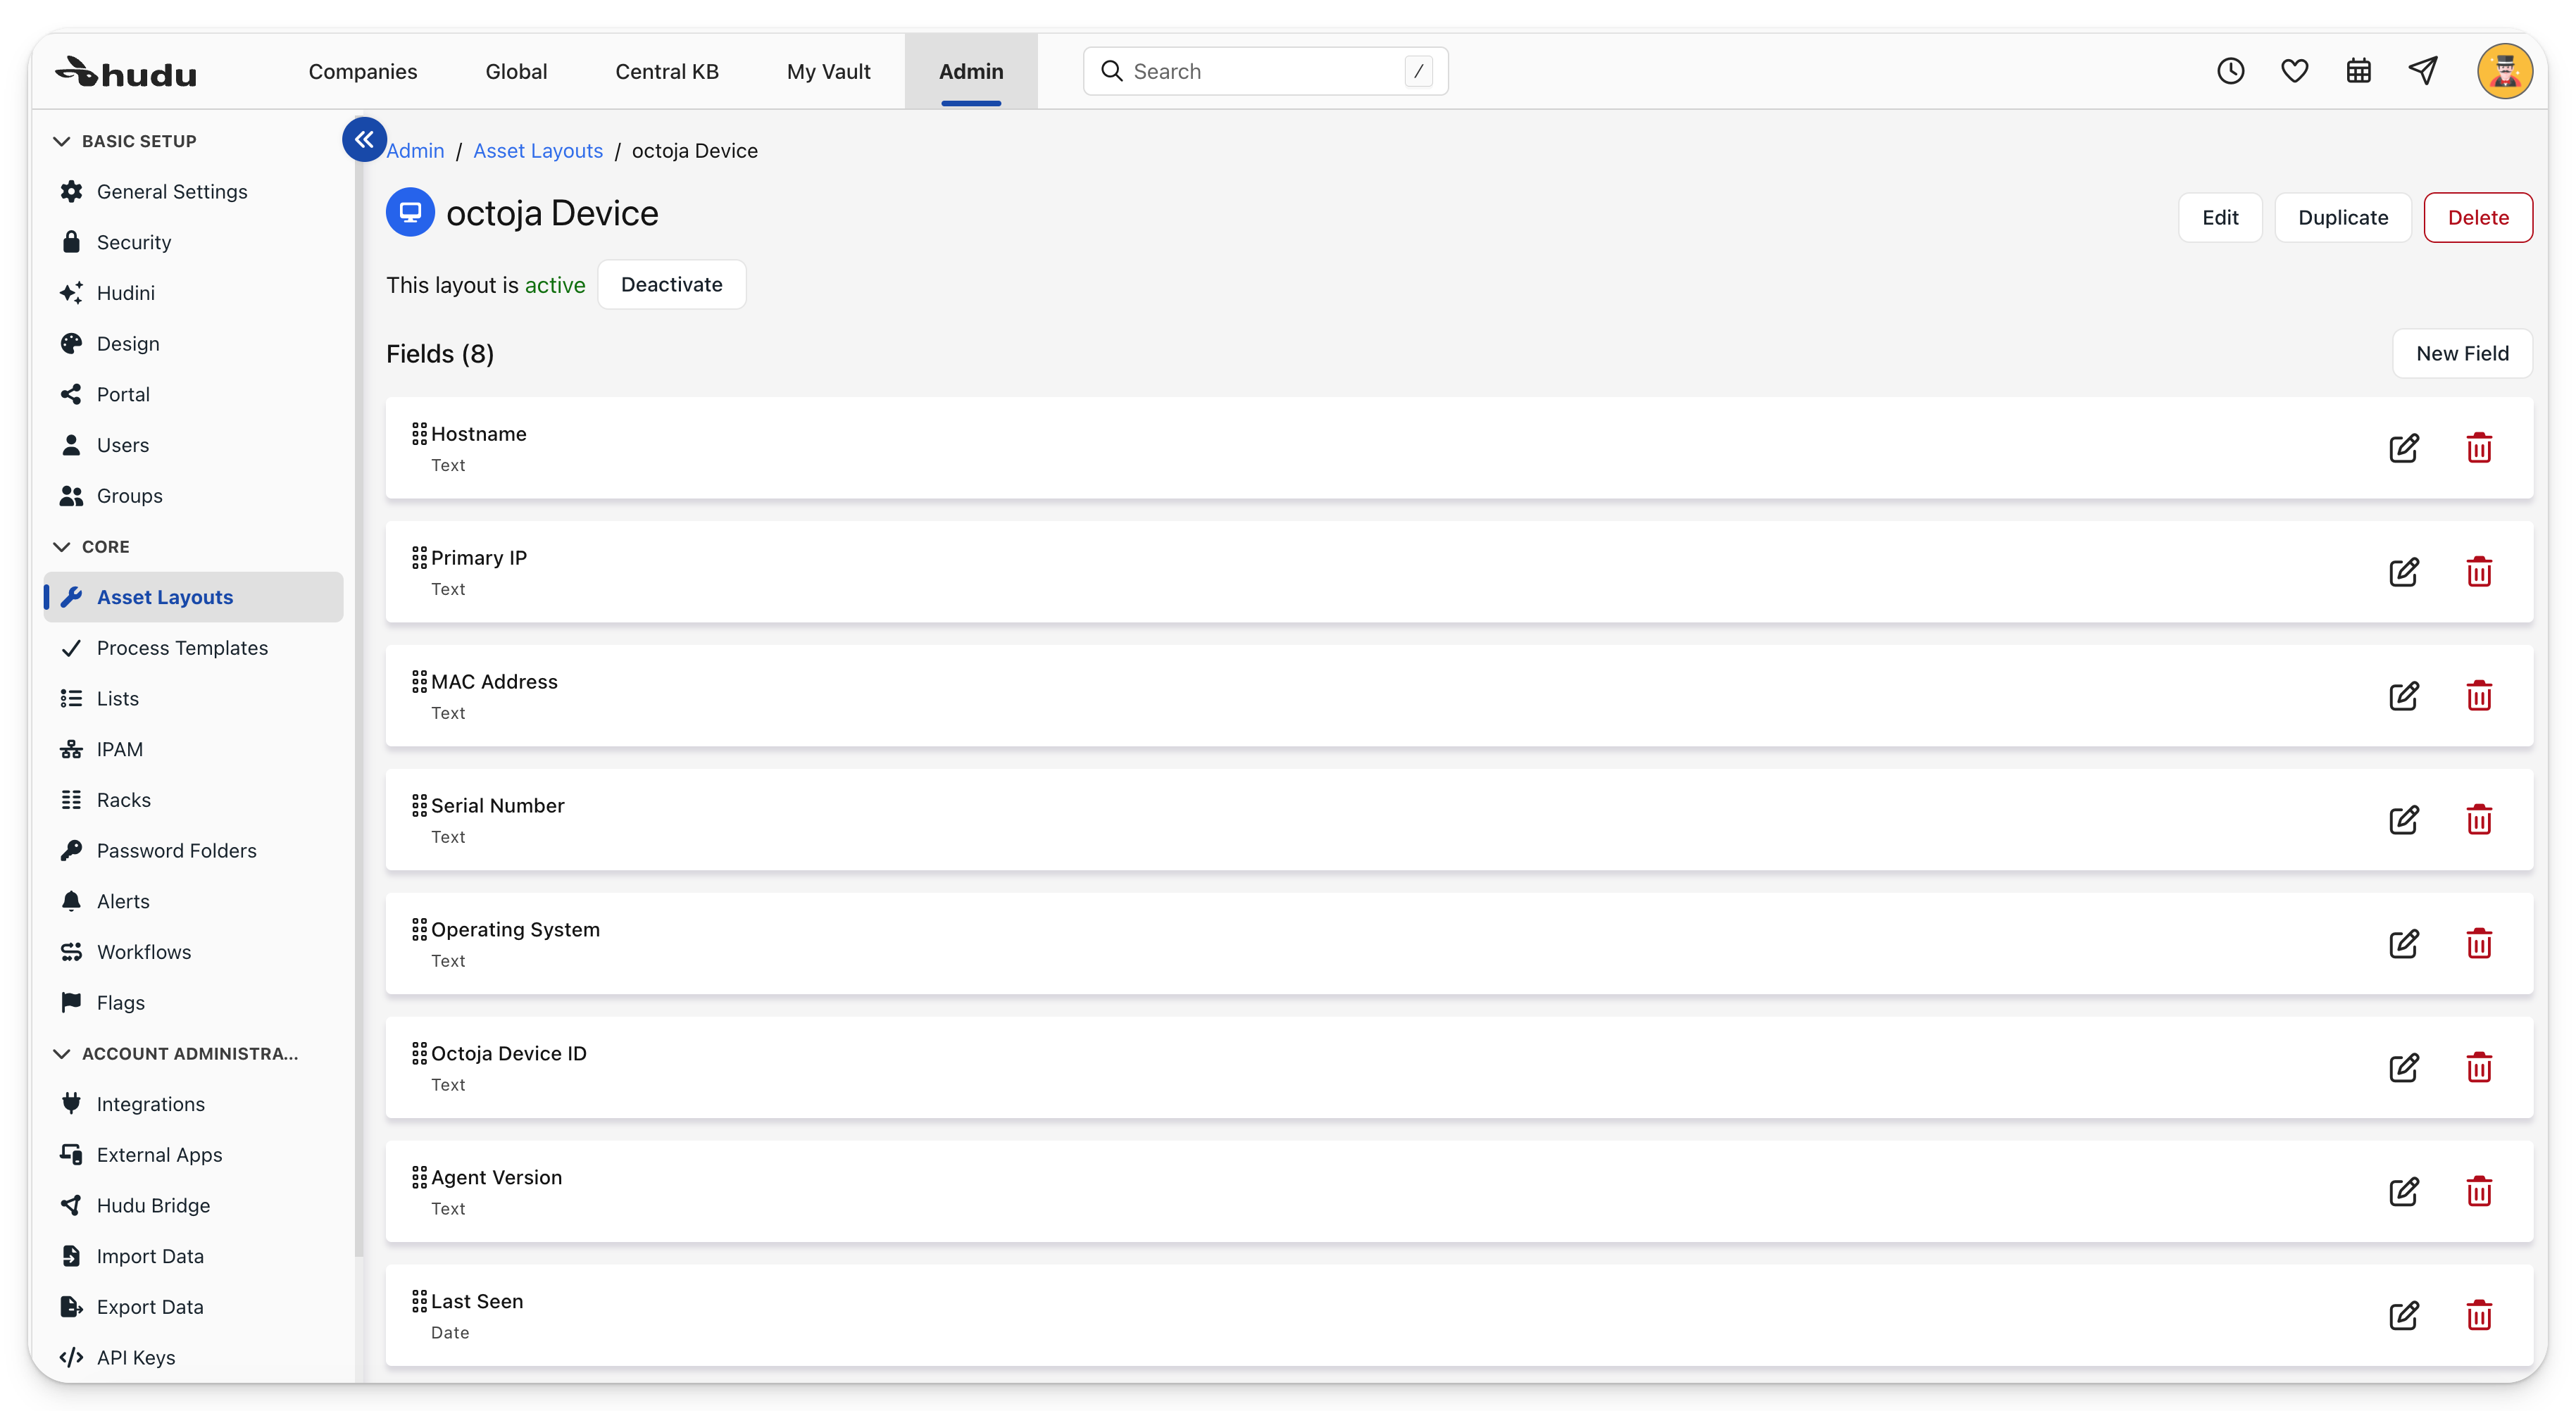
Back in Device mapping, select this octoja Device layout for the device kinds you want to sync.
Import customers and sync devices
Once mapping is in place, two actions are available from the Hudu integration:
- Import customers from Hudu — bring Hudu companies in as octoja customers.
- Sync devices to Hudu — push your octoja devices into Hudu as assets, either on demand or automatically every hour.
Disconnect
To remove the connection, open the Hudu integration page and use Disconnect Hudu in the Danger Zone. Your customer matches and settings are preserved, so you can reconnect later without redoing the mapping. Assets already created in Hudu stay in Hudu.
Tips
- Keep the API key somewhere safe — Hudu shows it only once. If you lose it, create a new key in Hudu and paste it into Set up Hudu again.
- Enter only the base Hudu URL (no trailing path). If the connection test fails, double-check the URL and that the key is still active in Hudu.
- Device kinds you leave unmapped are simply skipped — you can sync only servers, for example, and leave workstations out.
- The hourly sync never deletes assets in Hudu. Removing a device in octoja does not remove its Hudu asset; clean those up in Hudu if you want them gone.
- To connect other documentation or alerting tools, see the rest of the Integrations section.