Step 3 – Deploy Your First Agent
Install the octoja agent on a device so it can be monitored
Written By Erdinc Akay
Last updated 28 days ago
The octoja agent is a small program that runs on a computer or server. Once installed, it connects directly to the octoja web service and sends health data — CPU usage, memory, disk space, running services, and more — so you can monitor the device remotely.
Before you start
- You need administrator rights on the device you are installing the agent on.
- The device needs an internet connection (outbound HTTPS on port 443).
- You should have already created the customer this device belongs to (see Step 2).
Steps
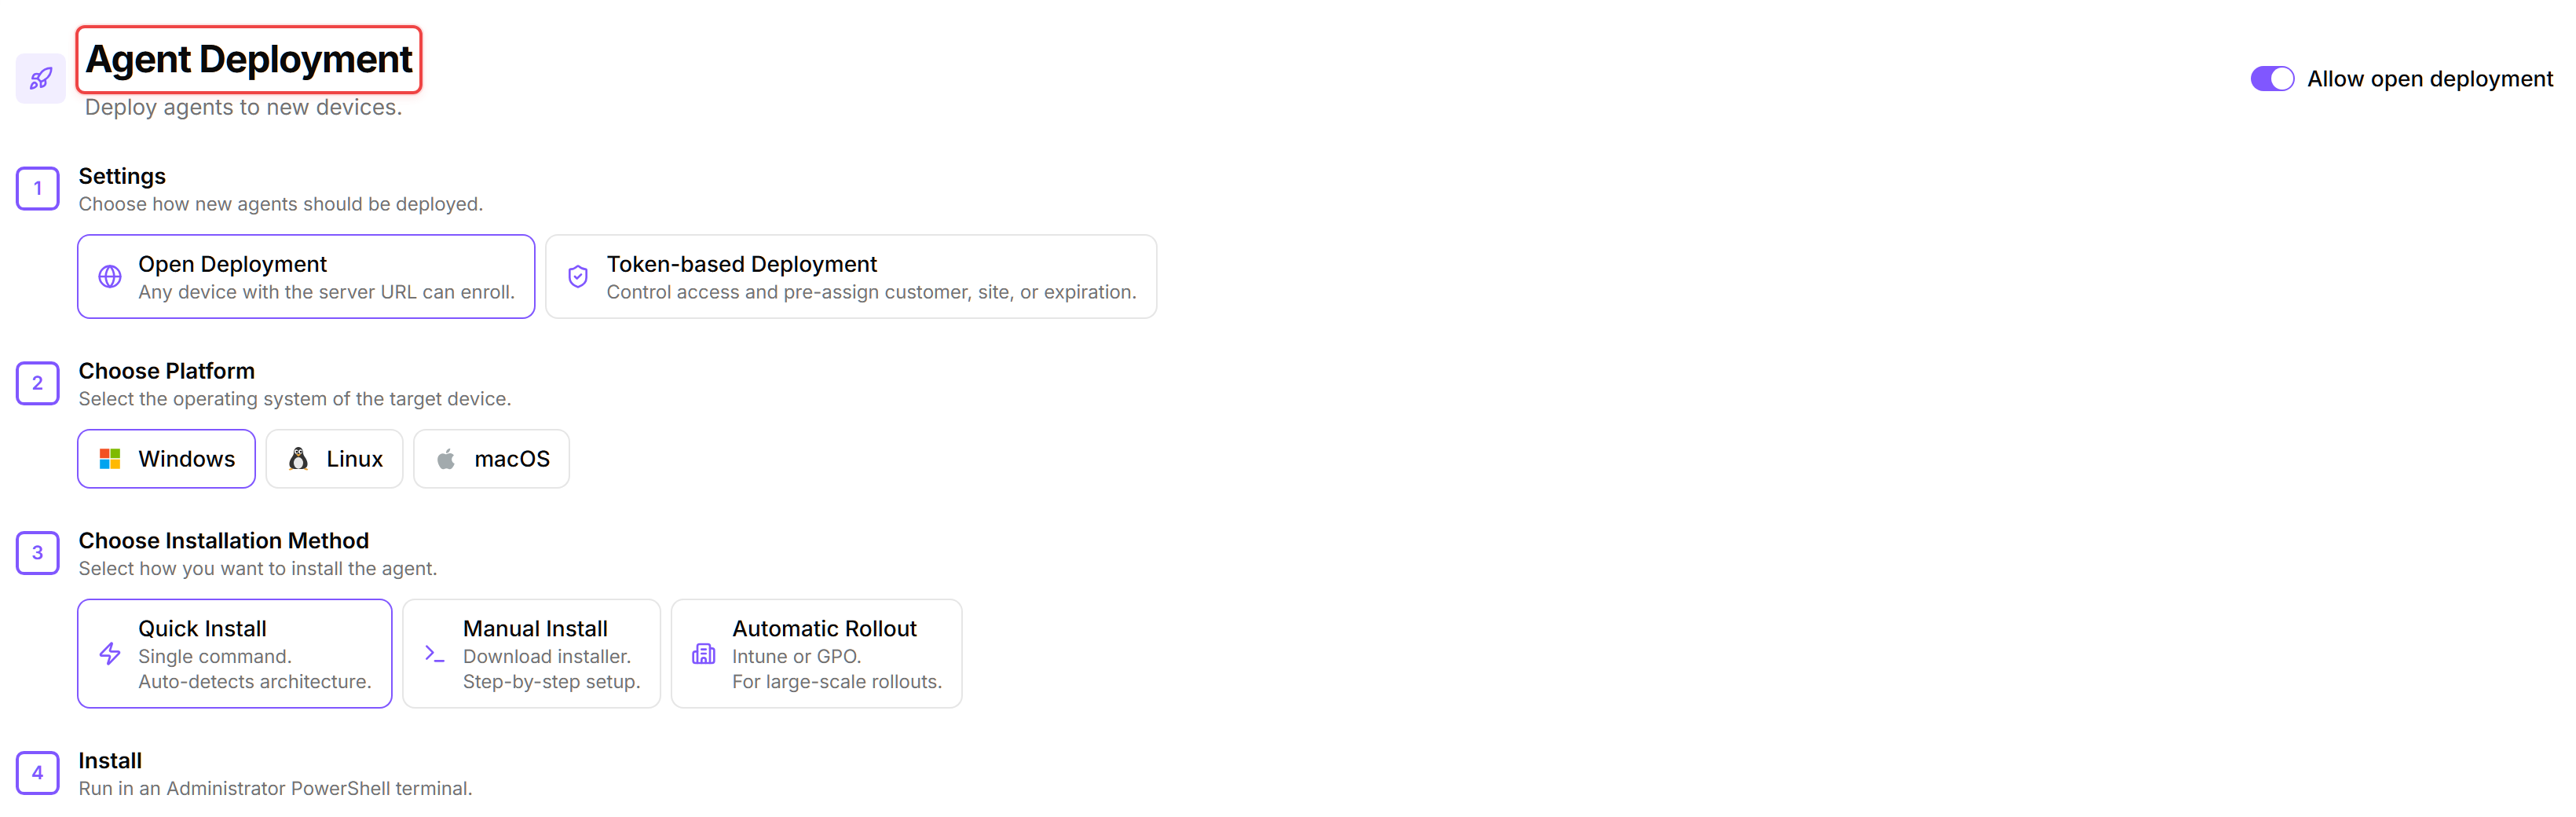
In octoja, go to Administration → Agent Deployment in the left sidebar.
Step 1 – Settings. For your first agent, keep the default Open Deployment option. This lets any device with the correct server URL enroll immediately, so you can get a device connected without any additional setup.
Step 2 – Choose Platform. Select the operating system of the device: Windows, Linux, or macOS.
Step 3 – Choose Installation Method. For your first agent, Quick Install is recommended. It runs a single command that auto-detects the architecture and installs the agent silently.
Step 4 – Install. Copy the install command shown in the grey code block and run it on the target device:
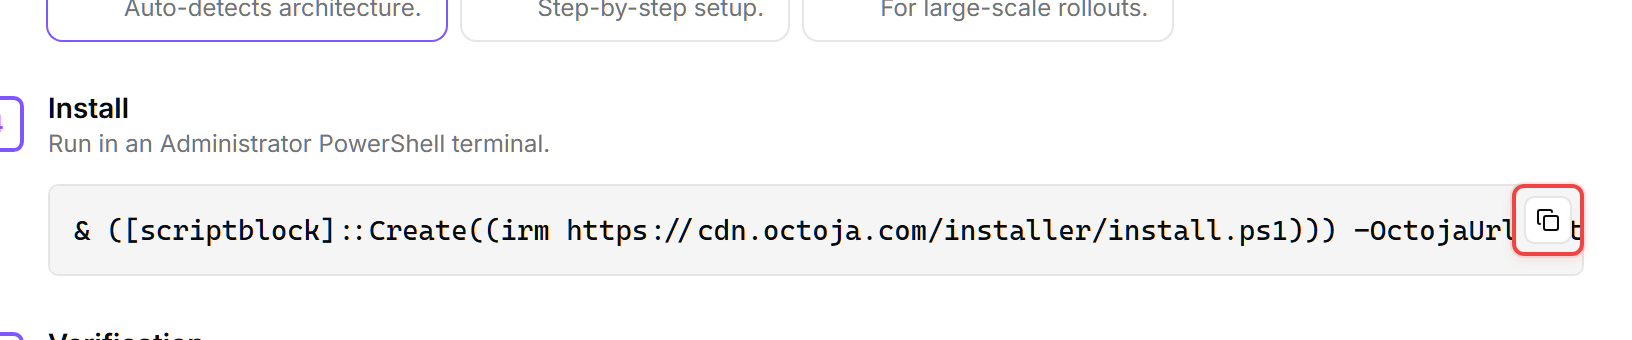
Copy the command from the octoja interface. Do not type it from this article — it contains your unique server URL.
- Step 5 – Verification. Wait 1–2 minutes, then go to Devices in the sidebar. The device should appear in the list and the status dot lights up green. The Health column may show a dash for the first minute or two before it turns green — the agent is connected, the first telemetry is simply still on its way.

Once you are ready to lock enrollment down
Open deployment is fine while you are learning the product. For production, your administrator should switch to Token-based Deployment so only devices with a valid enrollment token can connect. See Configure Agent Enrollment Tokens for the admin setup.
Troubleshooting
Need more detail? See the full deployment guides:
Next step
Continue to Step 4 – Activate Your First Check.