Configure the Hyper-V VM Status Check
Step-by-step guide to configuring the Hyper-V VM Status check in octoja.
Written By Erdinc Akay
Last updated 25 days ago
Configure the Hyper-V VM Status Check
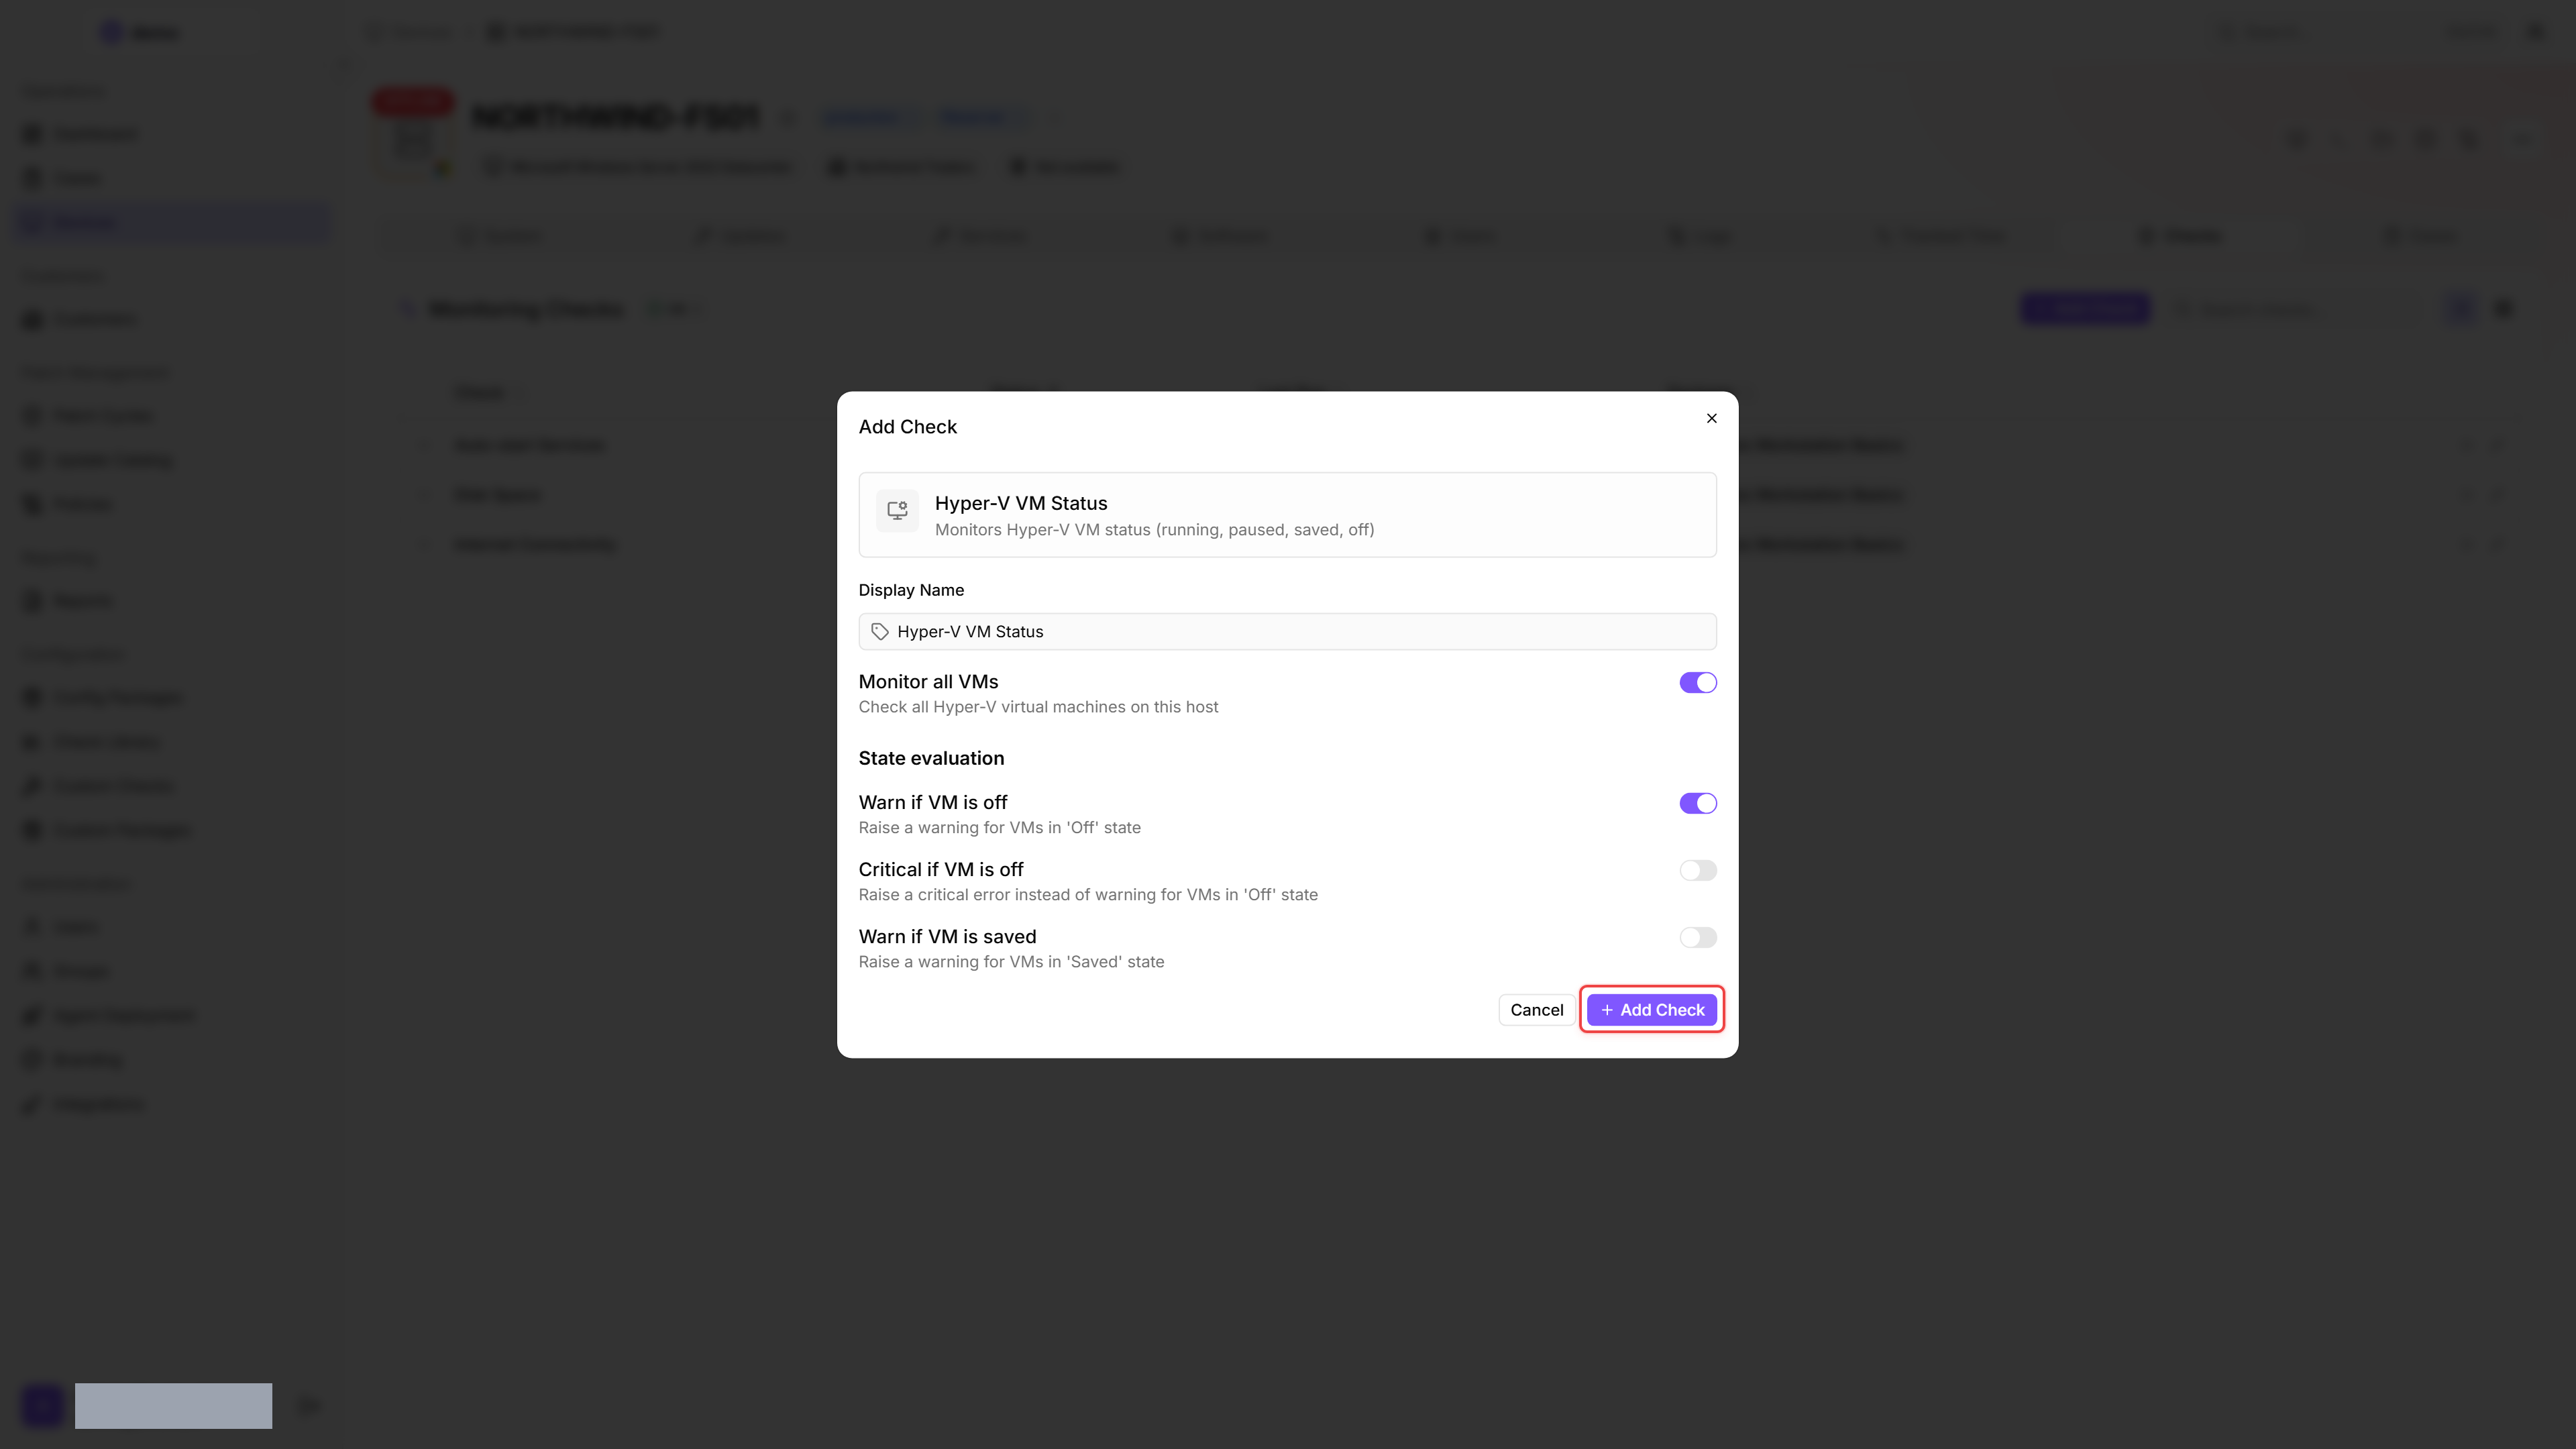
The Hyper-V VM Status check monitors the status of virtual machines on a Hyper-V host. It warns when VMs unexpectedly stop — and, if you enable the option, when they enter a saved state.
Prerequisites
- You need the Monitoring Check Management permission.
- The target device must be a Windows Server with the Hyper-V role installed and a connected agent.
Steps
- Go to Devices and open the Hyper-V host.
- Click the Checks tab → Add Check → Hyper-V VM Status.
- The Monitor all VMs toggle is on by default. Turn it off to reveal the VMs to monitor field, where you list the VM names you want to monitor.
- Configure the alert behavior:
- Click Add Check.
Tips
- Set Critical if VM is off to
Yesfor production VMs that should always be running. - VMs in a saved state are suspended — they have not crashed but are also not serving requests. Enable Warn if VM is saved for VMs that should never be suspended.
- If you have VMs that are intentionally powered off (templates, test environments), monitor specific VMs by name instead of all VMs.
After the first check interval, the result appears in the device's Checks tab.
See also: Hyper-V VM Status Reference