Configure a RAID Status Check
Step-by-step guide to configuring a RAID status check in octoja.
Written By Erdinc Akay
Last updated 26 days ago
Configure a RAID Status Check
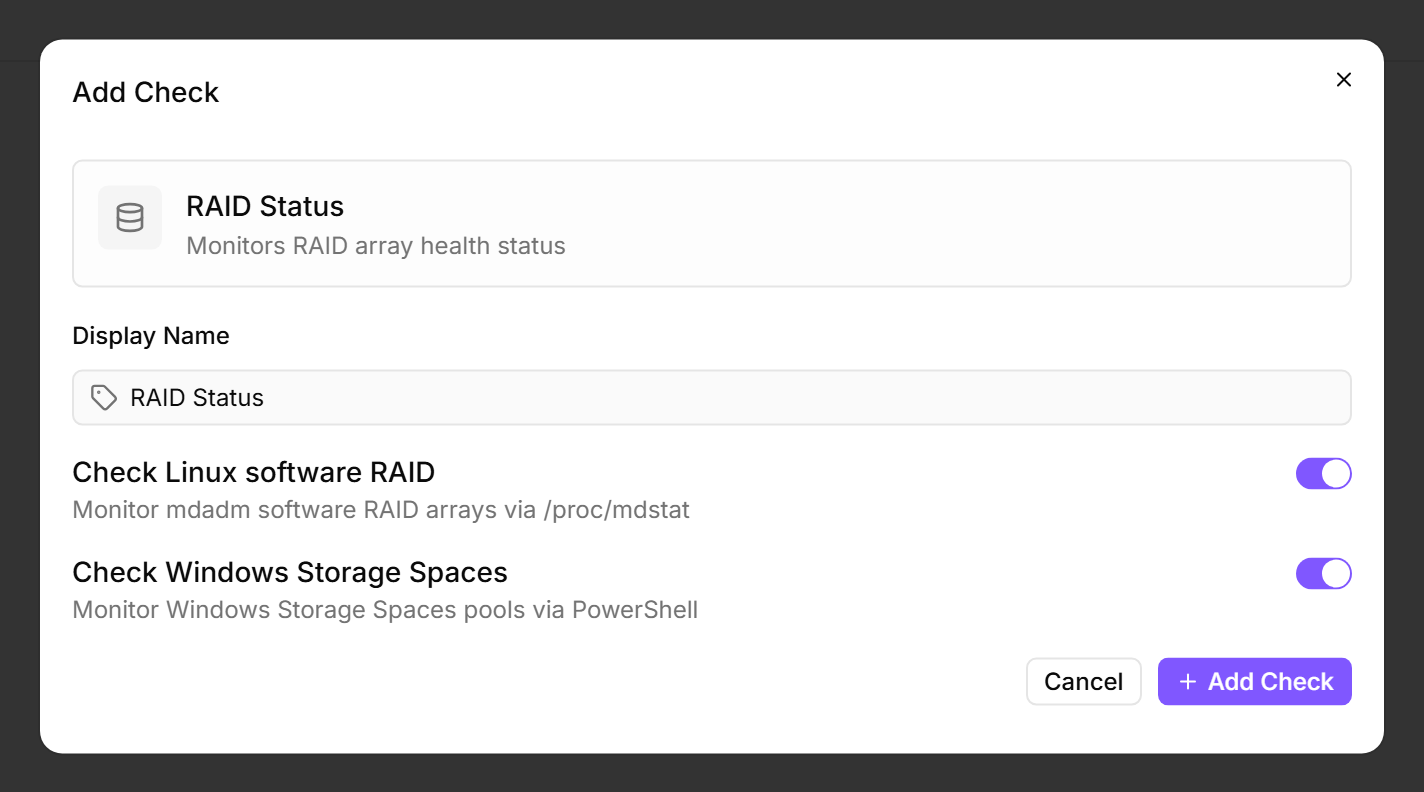
A RAID status check monitors RAID arrays for degraded or failed status. A degraded RAID array means you have lost redundancy — one more disk failure could mean data loss.
Prerequisites
- You need the Monitoring Check Management permission.
- The target device must have a connected agent running Windows (Storage Spaces or hardware/firmware RAID) or Linux (mdadm or ZFS).
Steps
- Go to Devices and open the device.
- Click the Checks tab → Add Check → RAID Status.
- The check automatically detects available RAID arrays. Configure which array types to monitor:
- Click Add Check.
Tips
- A degraded array is always urgent — the default check interval is 60 seconds, which catches failures quickly. Only increase it if the check creates measurable load on the device.
- This check covers Linux software RAID (mdadm) and ZFS pools, plus Windows Storage Spaces and Windows hardware/firmware RAID (Intel RST/VROC and controller volumes detected via
Get-PhysicalDisk). If you want per-disk detail underneath a hardware controller, add the SMART check as well — it reports individual disk health. - On Linux, the check reads
/proc/mdstatfor mdadm arrays (present when md arrays are active) and runszpool statusfor ZFS pools (skipped when ZFS is not installed) — no extra software is required. On Windows, it uses Storage Spaces management cmdlets andGet-PhysicalDisk.
After the first check interval, the result appears in the device's Checks tab.
See also: RAID Status Check Reference