Import monitoring checks with the Check Importer
Translate PowerShell monitoring scripts from another RMM into octoja Custom Checks — paste or upload them, let octoja translate, test each one, then import.
Written By Stefan Steuer
Last updated About 1 month ago
The Check Importer turns PowerShell monitoring scripts from another RMM into octoja Custom Checks, so you don't have to rebuild your monitoring from scratch after a migration. You add your scripts, octoja translates them, you test each result, and then you import the ones you trust. It pairs with the device migration — see the separate guide on migrating from a source RMM.
How the translation works
octoja translates your scripts with the Claude API from Anthropic. Scripts you submit through the API are not used to train AI models.
Important: AI-translated scripts can contain mistakes. Test every imported check on its own, on a test device, before you roll it out to production systems. The import happens at your own responsibility — octoja does not accept liability for damage caused by unchecked scripts.
Step 1: Add your scripts
You can add scripts one at a time or in bulk. To bring in many at once, use the Bulk upload card.
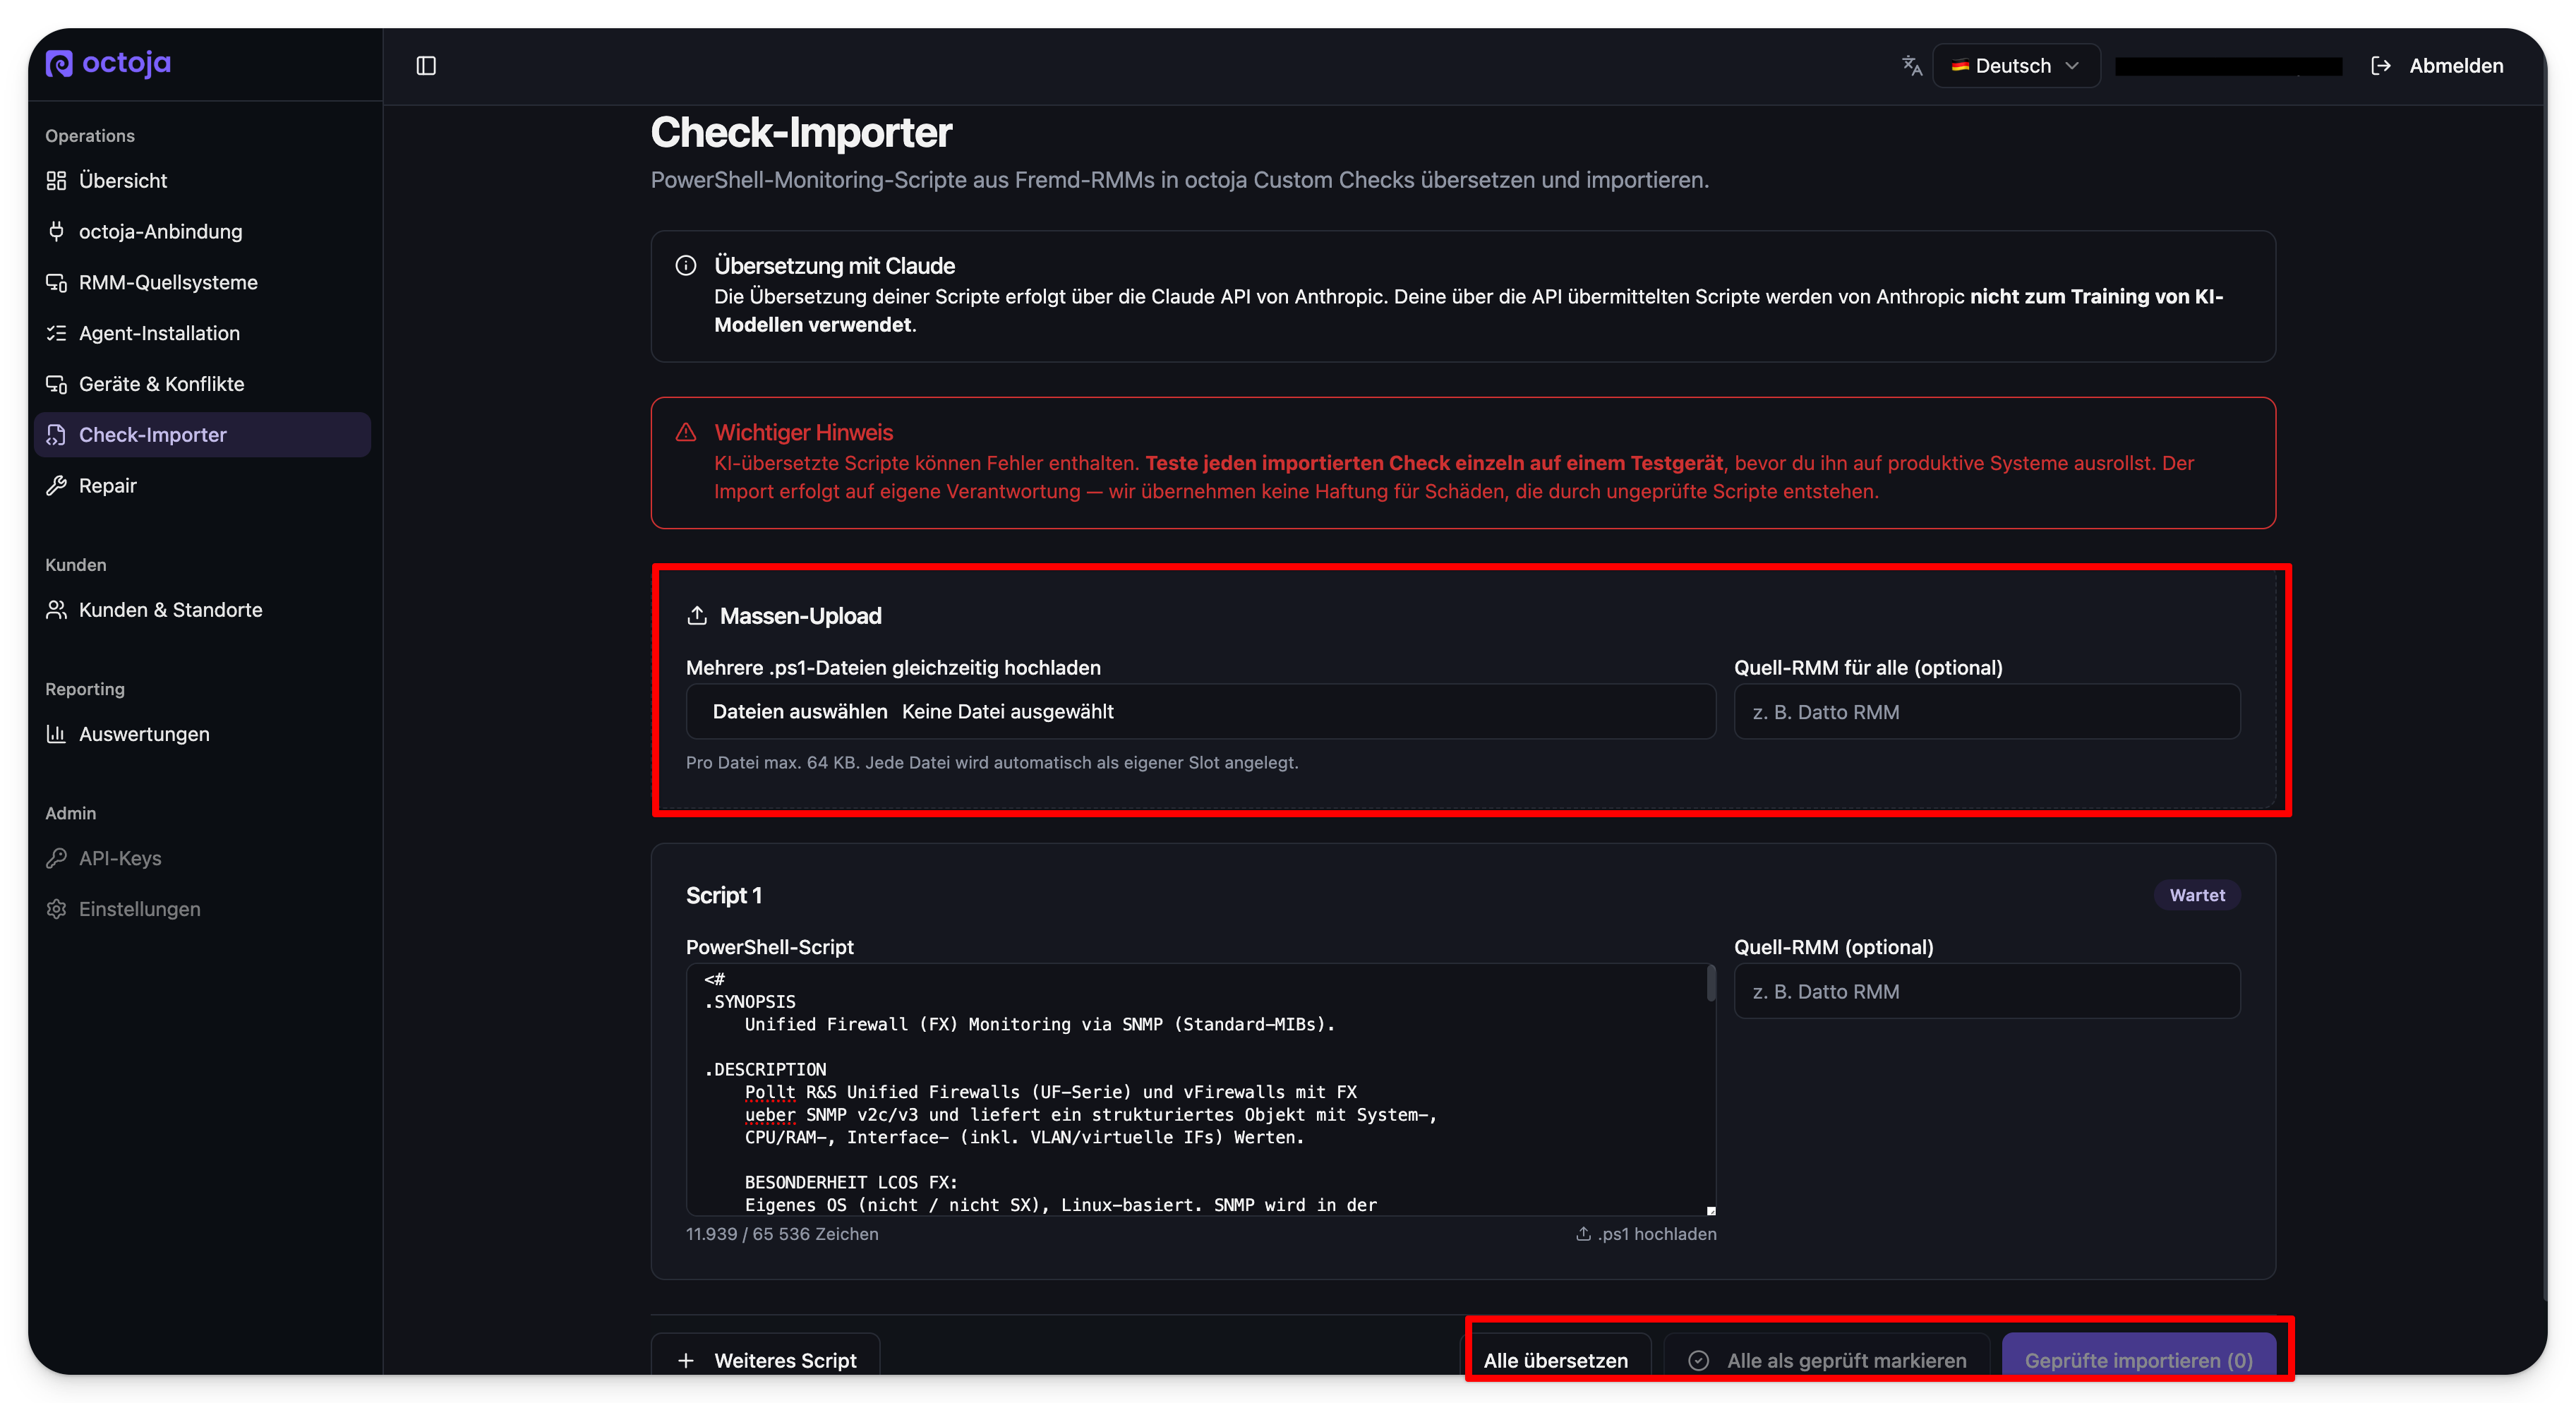
- Bulk upload — select several
.ps1files at once. Each file becomes its own script slot, up to 64 KB per file. Optionally set Source RMM for all (for exampleDatto RMM) to tag where the scripts came from. - Single script — paste a PowerShell script straight into a script slot, or upload one
.ps1file into it. You can tag the Source RMM per script, and Add another script to create more slots.
Each slot starts with the status Waiting until you translate it.
Step 2: Translate the scripts
Select Translate all to send every waiting script through the translation. octoja produces an octoja Custom Check for each one.
Step 3: Review and test each check
Before importing, read each translated check and run it on a test device. This is the step that protects your production fleet from a translation that doesn't behave the way the original did. Once a check works as expected, mark it as checked — Mark all as checked flips every slot at once.
Step 4: Import the checked scripts
Select Import checked to bring the checks you have verified into octoja as Custom Checks. The button shows how many are ready, for example Import checked (0); only the slots you marked as checked are imported.
Tips
- Import a few scripts first and confirm they behave on a test device before doing a large bulk upload.
- Keep each
.ps1file under 64 KB — larger files won't upload. - Tag the source RMM on each script so you can tell later where a check originally came from.