Deploy the Agent on Windows
Install the octoja Agent on a Windows computer or server
Written By Erdinc Akay
Last updated 26 days ago
This guide shows you how to install and register the octoja Agent on a Windows system.
Requirements
- An octoja account with the Agent Management permission — without it, Administration → Agent Deployment does not appear in your navigation
- Windows 10 / Windows Server 2016 or newer. Older versions down to Windows Server 2012 R2 also work, but first install the Microsoft Visual C++ Redistributable (x64) and .NET Framework 4.7.2 or later — both are available from Microsoft
- Administrator account on the device
- Internet access (outbound HTTPS on port 443)
Steps
- In octoja, go to Administration → Agent Deployment.
- In Step 1 – Settings, review the deployment mode (open deployment or token-based).
- In Step 2 – Choose Platform, click Windows.
- In Step 3 – Choose Installation Method, pick the method you want:
- Quick Install — a single PowerShell command that auto-detects architecture and installs silently. Best for one device at a time.
- Manual Install — download the ZIP archive, extract the MSI, and install it yourself with a wizard or silent flag.
- Automatic Rollout — generate the Intune or Group Policy (GPO) command for deploying to many devices at once.
- Copy the command or download the installer from the on-screen panel. Keep the panel open — the command contains your unique server URL.
- Run the command on the Windows device (see below).
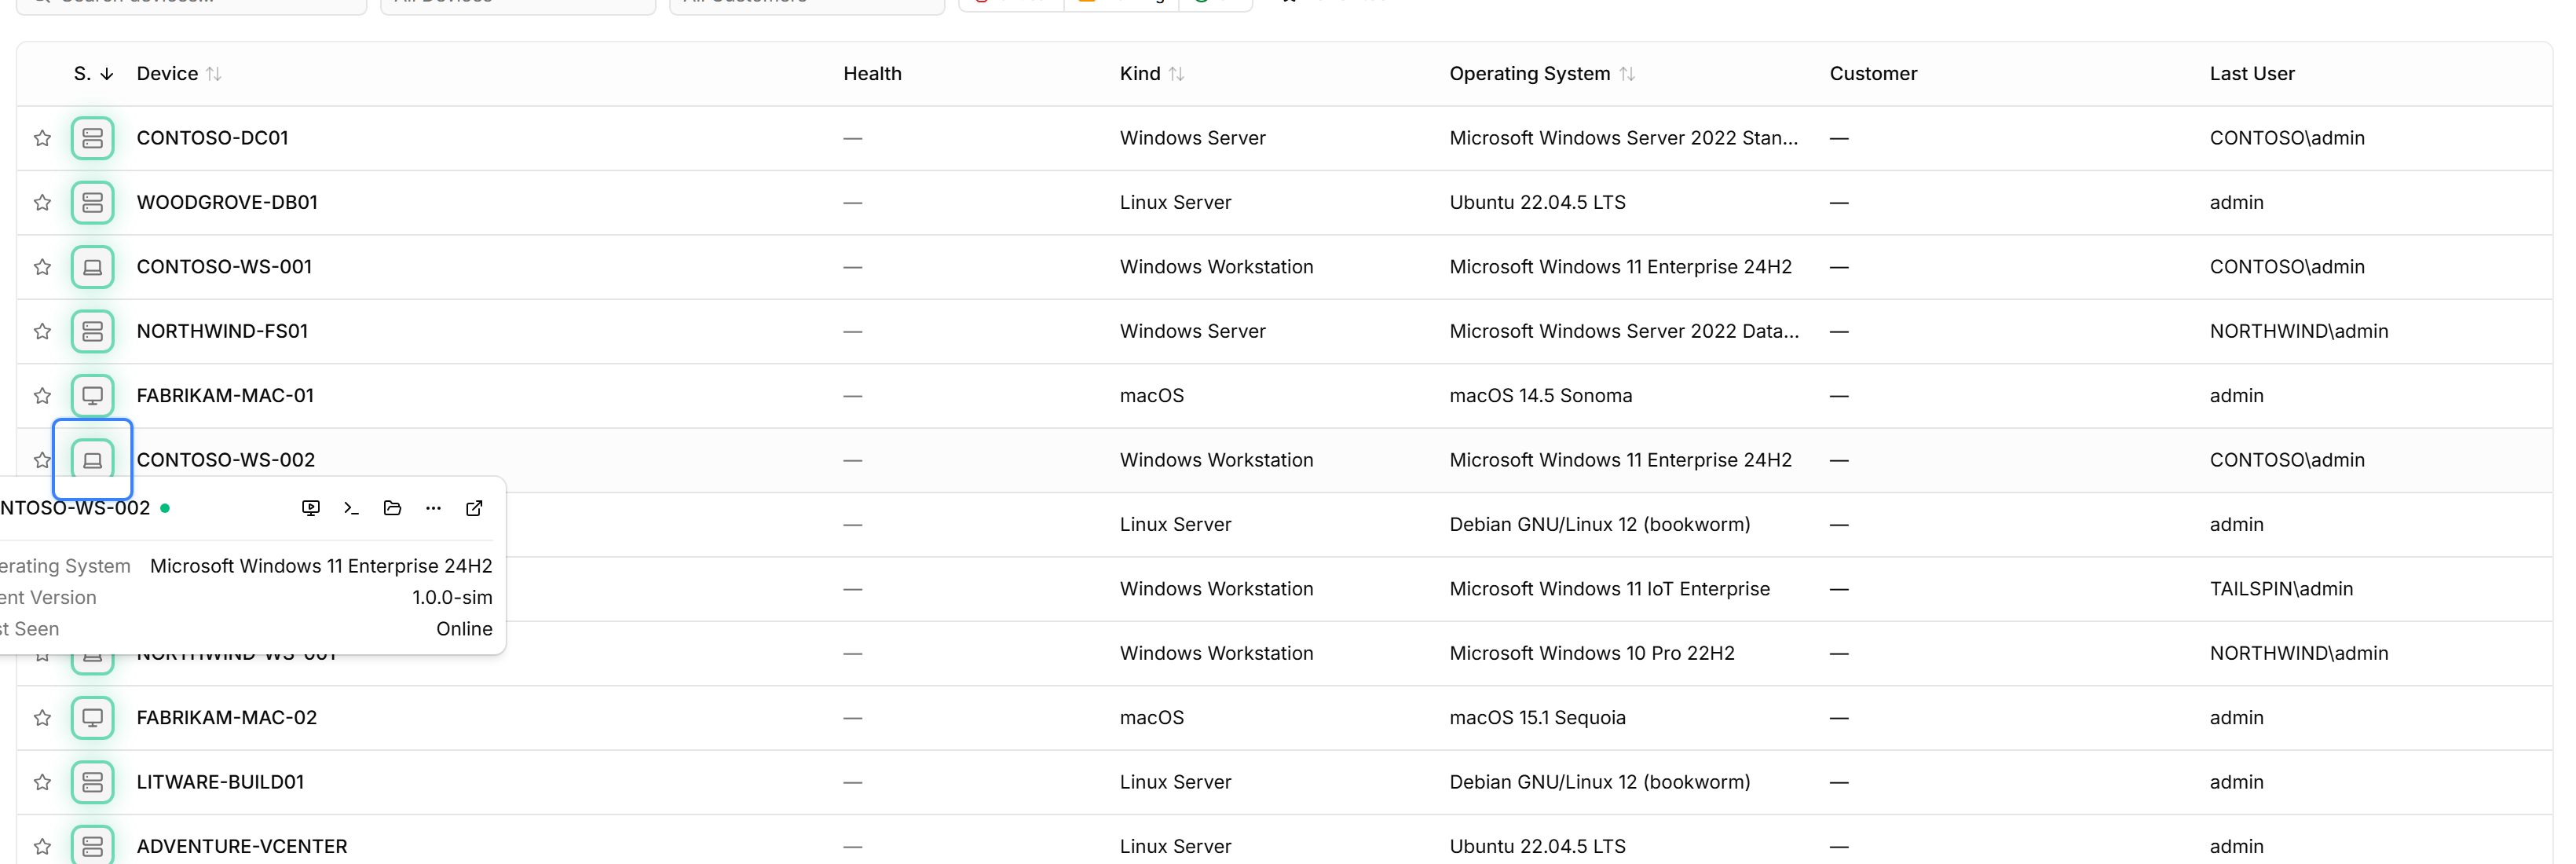
- Back in octoja, go to Devices. The device should appear within 1–2 minutes.

Quick Install (recommended for one device)
Copy the PowerShell command from the deployment page and paste it into an elevated PowerShell on the target device.
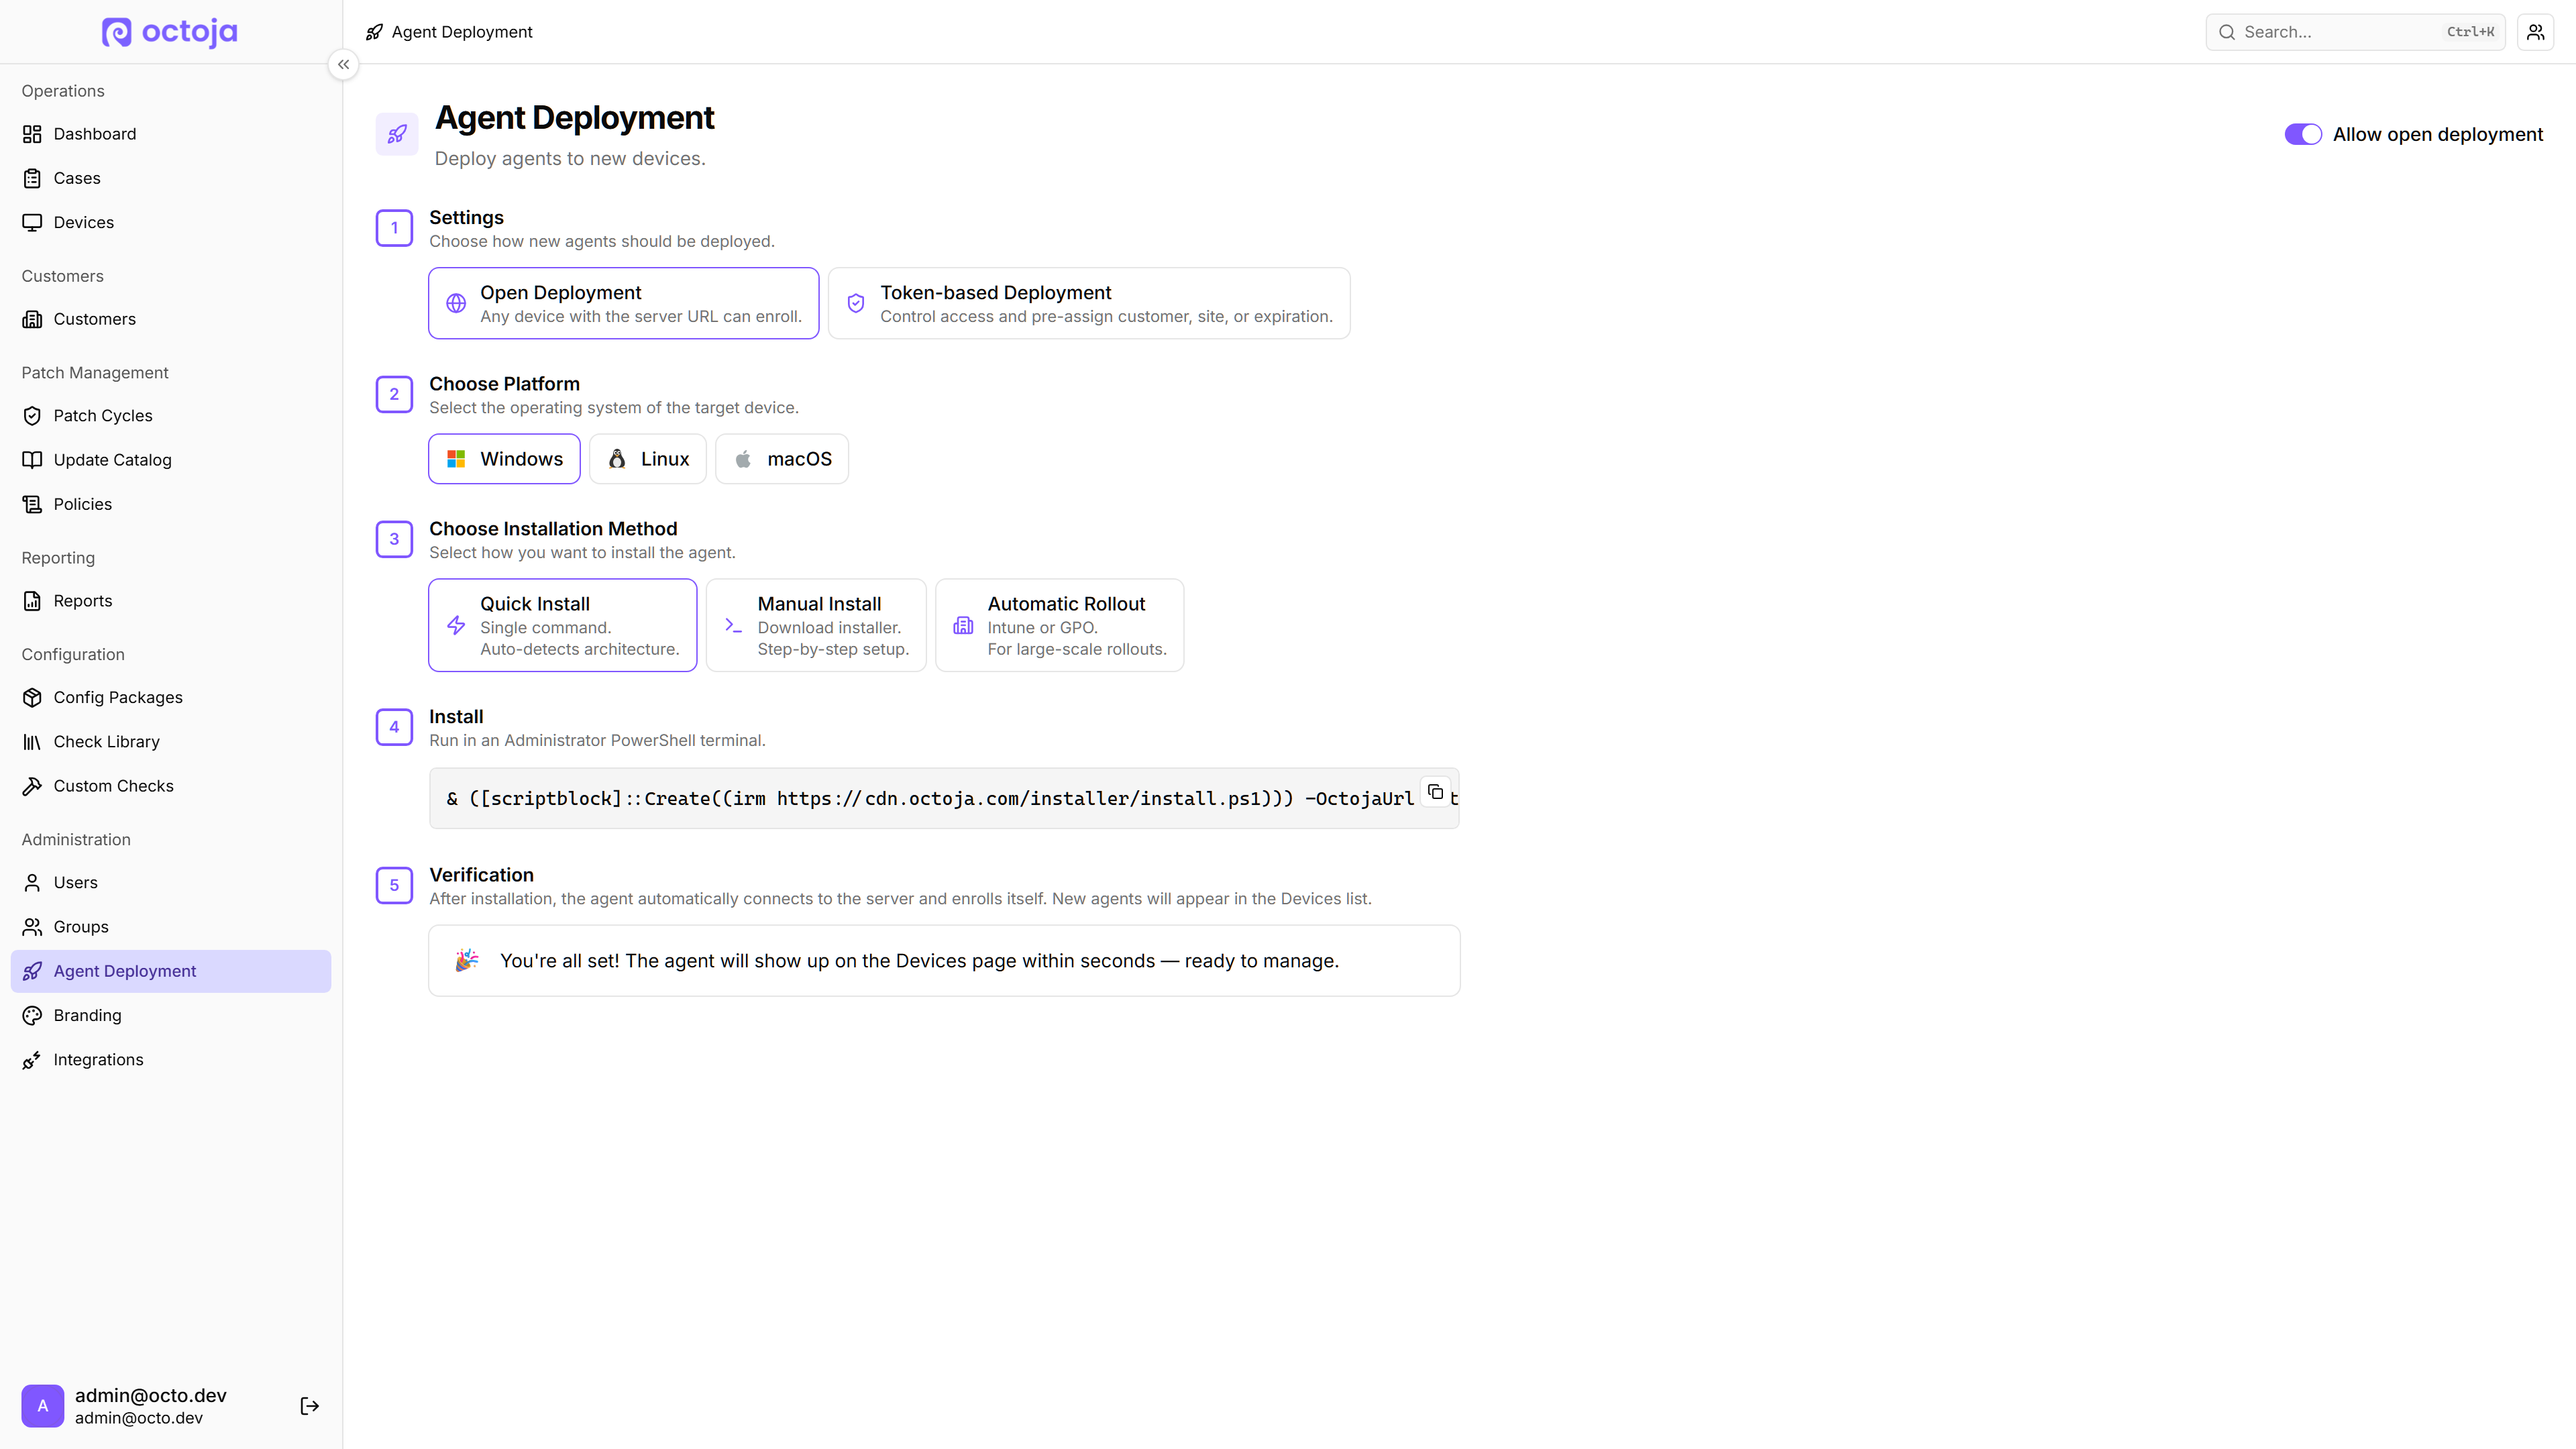
The PowerShell command will look similar to this:
& ([scriptblock]::Create((irm https://cdn.octoja.com/installer/install.ps1))) -OctojaUrl 'https://YOUR-OCTOJA-URL'If token-based deployment is enabled, the command includes a -Token argument — copy it verbatim:
& ([scriptblock]::Create((irm https://cdn.octoja.com/installer/install.ps1))) -OctojaUrl 'https://YOUR-OCTOJA-URL' -Token 'YOUR-TOKEN'The script detects the device architecture (x64 or ARM64), downloads the correct package, extracts the MSI it contains, and runs it silently. It requires an administrator PowerShell session.
Windows Server 2016 (and older Windows): enable TLS 1.2 first. On these systems Windows PowerShell still defaults to an older TLS version, so the command can fail at the download step (irm https://cdn.octoja.com/installer/install.ps1) with a connection error such as "The underlying connection was closed: An unexpected error occurred on a receive." — before the installer's own TLS handling can take effect. In the same elevated PowerShell session, switch to TLS 1.2, then run the octoja command again:
[Net.ServicePointManager]::SecurityProtocol = [Net.SecurityProtocolType]::Tls12If it still cannot connect, confirm the device can reach the CDN over HTTPS — a firewall, proxy or DNS problem produces the same symptom:
Test-NetConnection cdn.octoja.com -Port 443Resolve-DnsName cdn.octoja.comManual Install (MSI)
Choose Manual Install on the deployment page to see the Download x64 / Download ARM64 button. The download is a ZIP archive — extract it first, then run the contained MSI (octoja.Launcher.<version>.<arch>.msi) with msiexec:
msiexec /i octoja.Launcher.<version>.<arch>.msi OCTOJA_URL="https://YOUR-OCTOJA-URL"Append /qn for silent installation with no UI:
msiexec /i octoja.Launcher.<version>.<arch>.msi OCTOJA_URL="https://YOUR-OCTOJA-URL" /qnIf an enrollment token is required, add TOKEN="...":
msiexec /i octoja.Launcher.<version>.<arch>.msi OCTOJA_URL="https://YOUR-OCTOJA-URL" TOKEN="YOUR-TOKEN" /qnAutomatic Rollout (Intune / Group Policy)
The Automatic Rollout card walks you through each deployment tool. The MSI itself comes from the Manual Install download — extract it from the ZIP archive first.
Roll out with Group Policy
For a Group Policy rollout, octoja generates a ready-made Windows Installer transform file (named like octoja.Launcher.<version>.mst) that already carries your server URL and enrollment token. You no longer set any MSI properties by hand — the transform sets the same OCTOJA_URL and TOKEN properties that the manual msiexec command would. Follow these steps:
- On the Automatic Rollout card, select the Group Policy (GPO) tab and click Download transform (.mst). If you change the enrollment token later, download the transform again so it carries the new token.
- Place the MSI installer and the
.msttransform on a network share the target machines can reach (use UNC paths like\\server\share\…). - In a GPO, add the MSI under Computer Configuration → Software Installation with the Advanced deployment method, then attach the
.mston the package's Modifications tab. Microsoft's Group Policy software-installation guide covers the console steps. The agent installs at the next computer startup.
Sidecar JSON alternative for Manual Install. Instead of passing the URL and token on the msiexec command line, you can place a settings file next to the MSI. Create installer.settings.json in the same folder as the MSI:
{ "octojaUrl": "https://YOUR-OCTOJA-URL", "token": "YOUR-TOKEN"}Then run msiexec /i octoja.Launcher.<version>.<arch>.msi /qn with no extra properties — the installer reads the JSON file automatically. This footnote also appears in the Manual Install step of the deployment wizard.
Parameter reference
Verify the installation
- In the Windows Services console, confirm both agent services are Running:
Octoja Agent(Octoja.Agent) andOctoja Launcher(Octoja.Launcher). - In octoja, go to Devices — the device should appear within 1–2 minutes.
Need an enrollment token? See Configure Agent Enrollment Tokens.