Configure an HP iLO Check
Step-by-step guide to configuring an HP iLO server hardware check in octoja.
Written By Erdinc Akay
Last updated 25 days ago
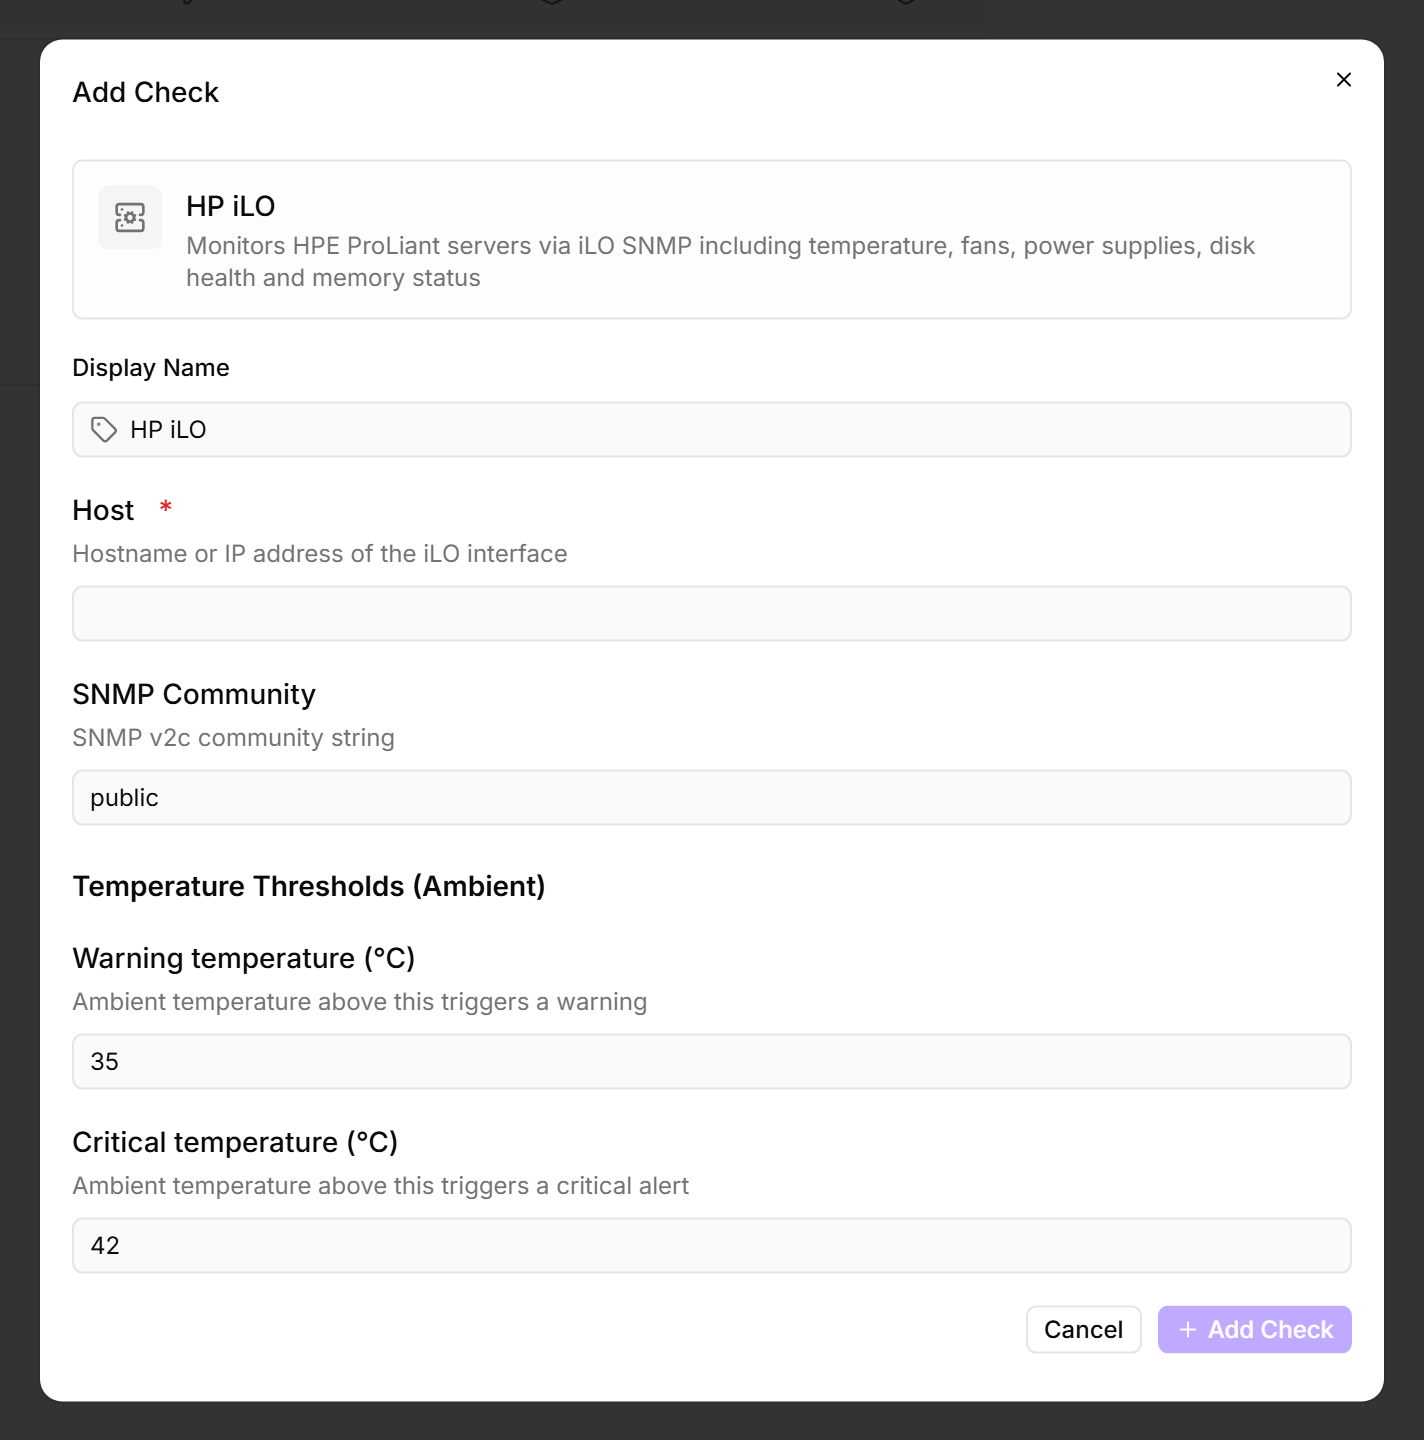
An HP iLO Check monitors HPE ProLiant servers via their Integrated Lights-Out (iLO) management interface. It captures temperature, fan status, power supplies, hard drive health, and memory module status — giving you hardware visibility without needing to install software on the server.
Prerequisites
- You need the Monitoring Check Management permission.
- The target device must have a connected agent with network access to the iLO interface.
- The iLO interface must have SNMP enabled (v2c or v3), with a known community string (v2c) or SNMPv3 credentials.
Steps
- Go to Devices and open the device that has network access to the iLO interface.
- Click the Checks tab → Add Check → HP iLO.
- In Host, enter the iLO hostname or IP address, then choose the SNMP version (default:
v2c). For v2c, enter the SNMP Community string (default:public); for v3, fill in the SNMPv3 user and, if your iLO requires them, the Authentication protocol and Privacy protocol with their passwords instead. - Configure the temperature thresholds:
- Click Add Check.
What the check reports
The check reports server health across multiple subsystems: temperature sensors, fan speeds and status, power supply status, physical hard drive health, and memory module status.
Tips
- The iLO interface has its own IP address, separate from the server's operating system IP. Make sure you enter the iLO IP, not the server IP.
- Temperature thresholds depend on your datacenter cooling. The defaults are conservative — adjust them based on the normal operating temperatures of your environment.
- This check complements the SMART check. The iLO check monitors the entire server chassis; the SMART check monitors individual hard drive health at the operating system level.
After the first check interval, the result appears in the device's Checks tab.
See also: HP iLO Check Reference