Create a report template
Build a custom PDF report from octoja widgets — KPI cards, charts, tables and cases — and generate it for a specific customer, site, or your whole tenant.
Written By Erdinc Akay
Last updated 26 days ago
The Reports area lets you build custom PDF reports that summarize your tenant — open cases, device health, patch compliance, certificate expiry, case trends, disk usage, hardware inventory and more. octoja ships several built-in templates for common cases — including an Executive Snapshot, a Patch Compliance Snapshot, a Detailed Patch Report, and a Hardware Inventory — and you can use them as-is, duplicate and customize them, or build a new template from scratch. The output is a PDF you can attach to a customer review, send to a manager, or archive for audit.
Prerequisites
- You need the Reports / Manage report templates permission (
reports.manage). It is granted via groups in Administration → Groups — ask whoever administers your tenant to add it to your role if it is not already there. - Anyone without the permission can still view and generate reports from built-in templates; they only cannot create, edit, or delete custom templates.
Step 1 — Open the Reports area
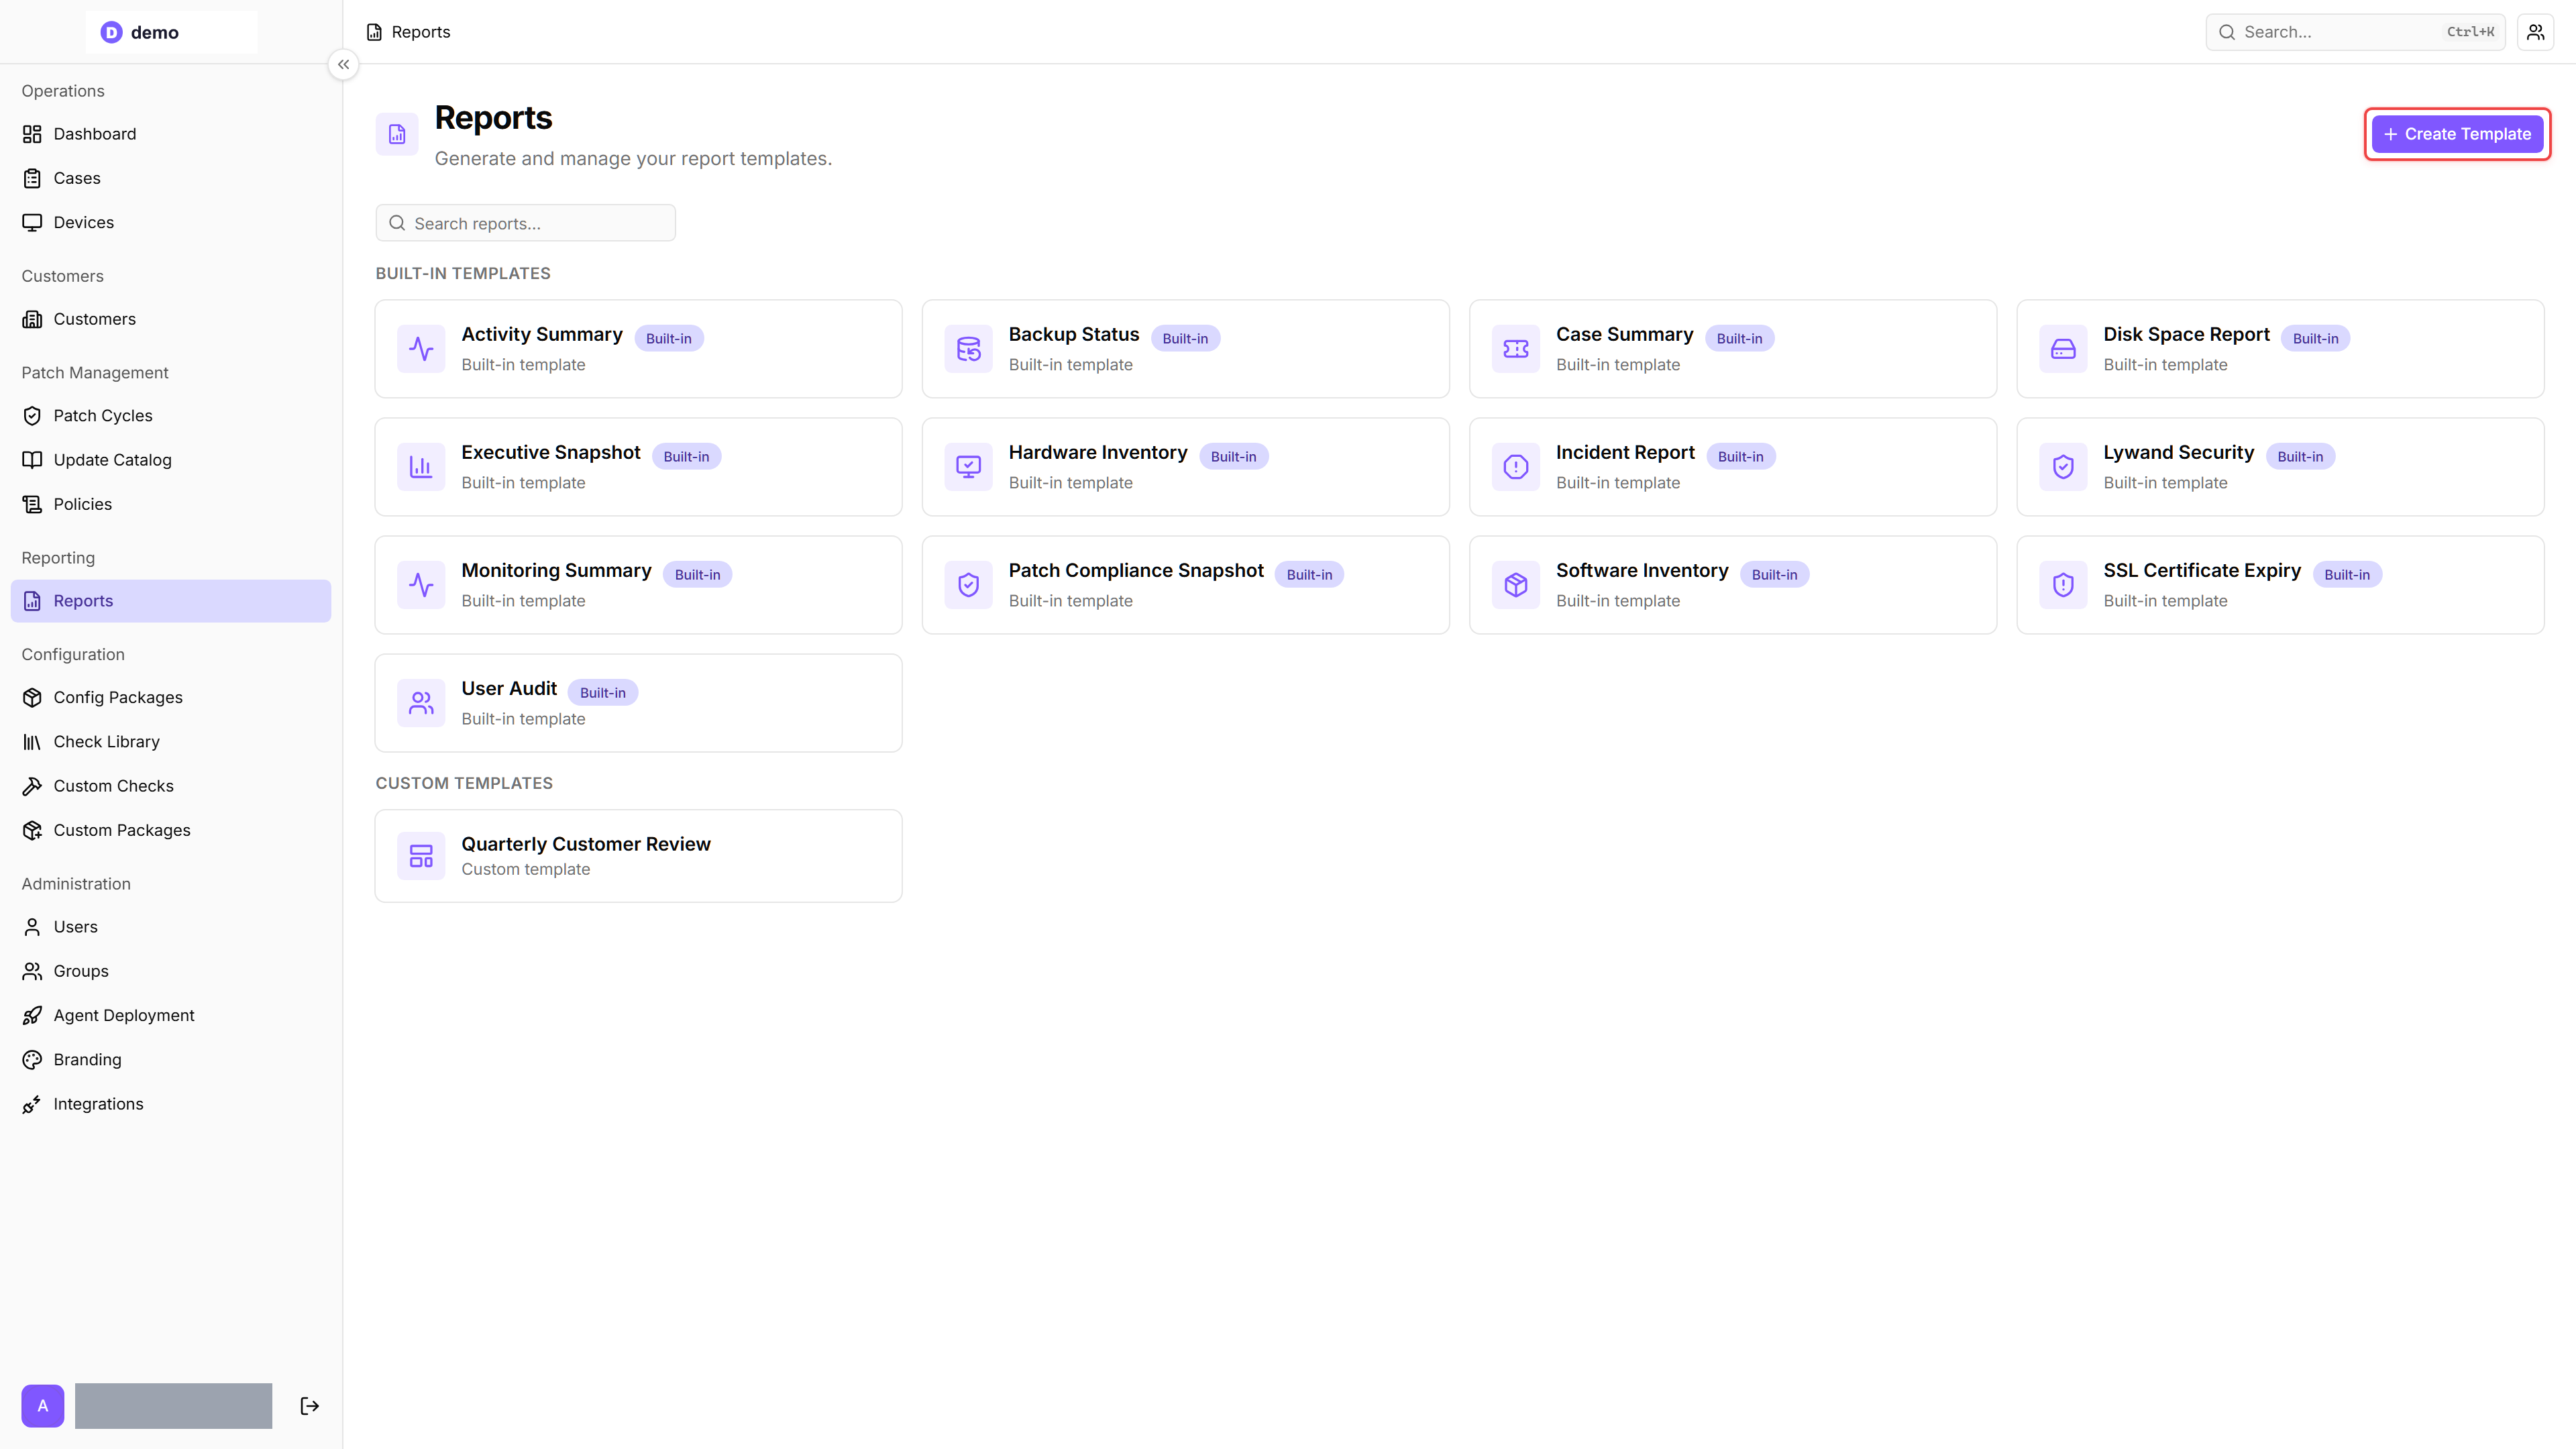
In the left sidebar, go to Reports. The page shows every template in your tenant, grouped into Built-in Templates (provided by octoja) and Custom Templates (any your team has created).
If you do not see the Create Template button in the top-right corner, you do not have the Reports / Manage report templates permission — you can still open and generate the built-in templates, but you cannot create new ones.
Step 2 — Create a new template
Click Create Template in the top-right corner. The Create Report Template dialog opens.
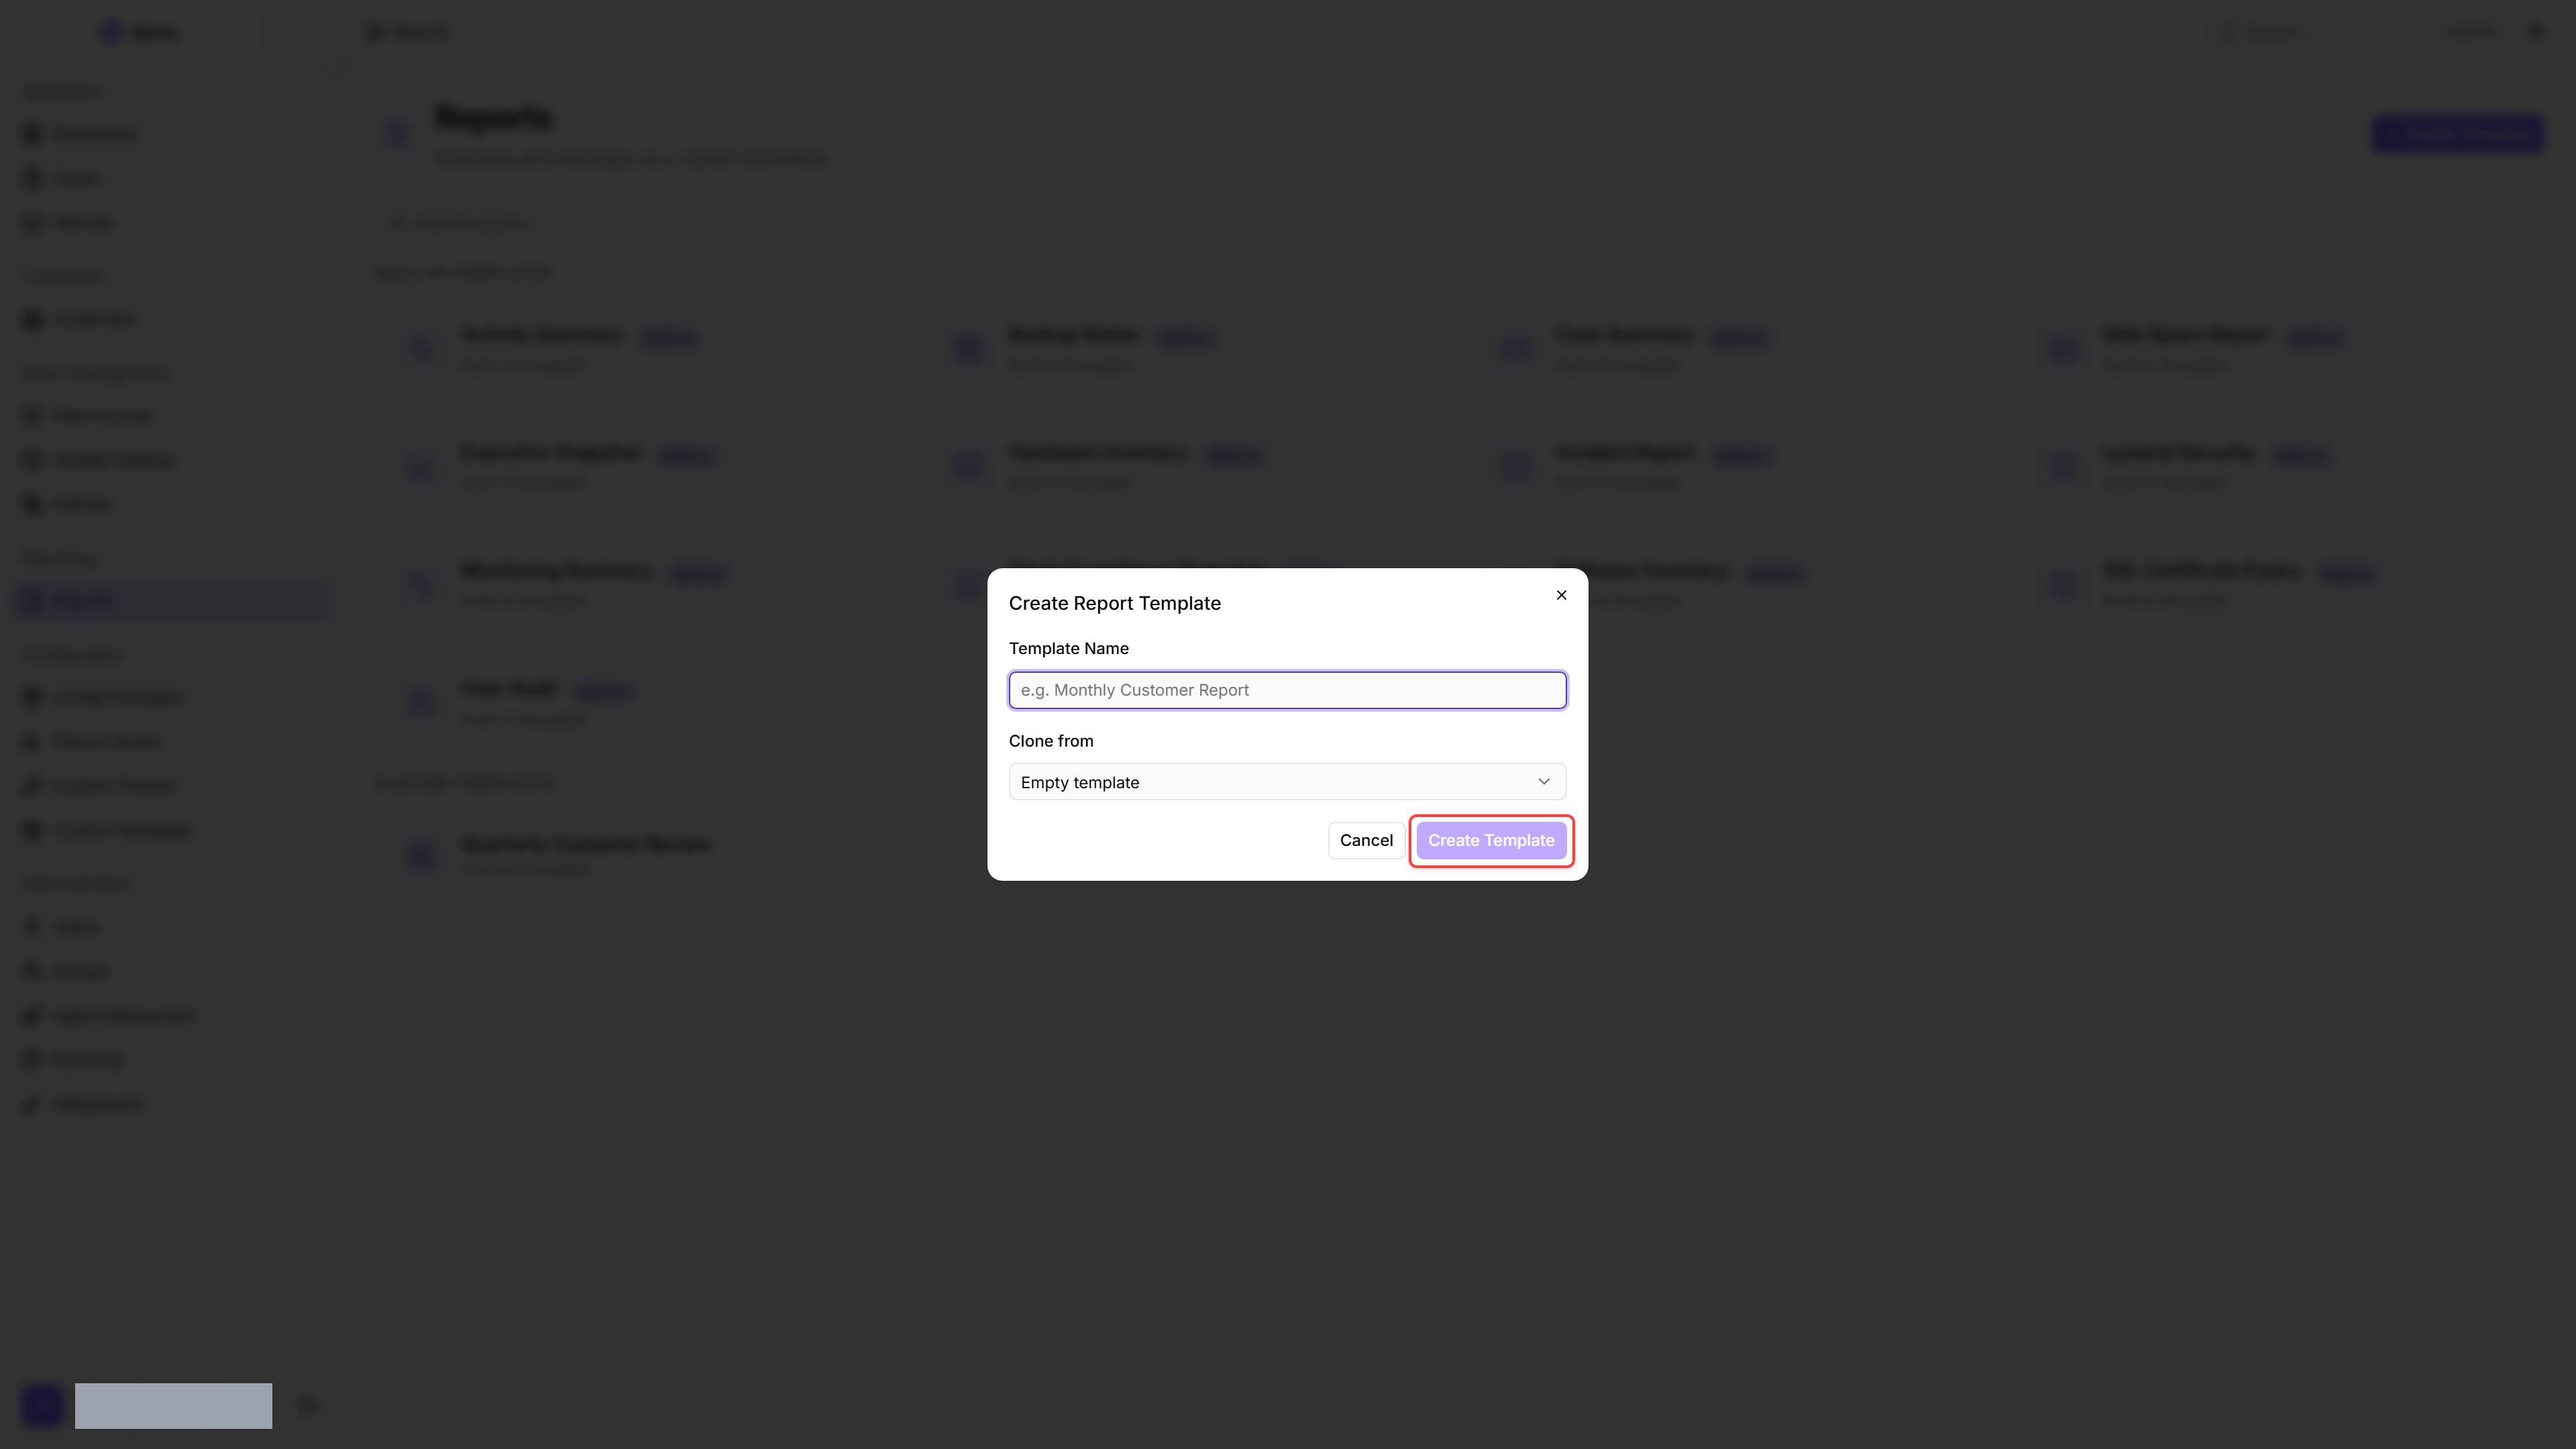
Fill in:
Click Create Template. octoja saves the template and opens the template editor.
In preview mode, some widgets may show "This widget could not be rendered" until you set a customer scope (Step 4) or save and re-open the template. This is normal — widgets that depend on customer-specific data render once the scope provides that data.
Step 3 — Add and arrange widgets
The template editor opens in preview mode by default — you see what the rendered PDF will look like. In the top-right corner is a two-button toggle: an eye icon for Preview and a pencil icon for Edit Template. Click the pencil icon to switch to edit mode, where you can add and arrange widgets.
A template is built from rows, and each row holds one or more widgets side by side. Widgets are the things that render data — KPI cards, charts, tables, headings, callouts, and so on. There is also a Checks category of monitoring-check widgets — for example Check Detail (a check's current status) and Check History (per device), which shows a check's status over time and can be narrowed to specific devices or statuses.
To add a widget:
- In edit mode, drag a widget from the widget palette on the left onto the canvas.
- Drop it into an existing row (placing it beside the widgets already there) or onto the empty space between rows (creating a new row).
- Click the widget to open its properties panel on the right. Set the title, change the column span (how wide it is in the row), choose a background colour, and configure any widget-specific options.
To rearrange widgets, drag them within or between rows. To remove a widget, click it and choose Delete from the action menu.
One widget worth calling out is the Hardware Inventory table — it renders one row per device and lets you choose exactly which hardware fields appear as columns. Select the widget, and in its properties panel pick the fields you want. They are grouped into six categories so you can find them quickly:
Use the All and None buttons to select or clear every field at once. If you pick none, the widget falls back to a sensible default set of columns. Because each column adds width, a wide selection reads best in landscape orientation (see below) — octoja shows a hint as you approach the number of columns that comfortably fit an A4 page.
The report also has a page orientation. In the toolbar above the canvas, two buttons switch between Portrait and Landscape (wider — fits more table columns). Landscape gives wide tables like the Hardware Inventory more room. Orientation is part of the template, so it is saved together with the layout — switch it and then click Save. New templates start in Portrait.
Click Save in the top-right corner to persist your changes. The Save button appears only when there are unsaved changes — it is hidden when the template is clean.
Tip: Built-in templates make a good starting point even if you do not plan to keep them. Open a built-in template to see how octoja arranges KPI cards, charts and tables. You can then either work in a copy (use Clone in the action menu) or start fresh with the layout you have in mind.
Step 4 — Scope the report
Above the canvas, a filter bar lets you scope the report before you generate it:
The preview updates as you change the scope so you can see exactly what the generated PDF will contain. Scope and period are not stored on the template — they are chosen each time you generate.
Step 5 — Generate the PDF
When the preview looks the way you want, click Download (the download icon) in the filter bar below the page header, next to the Customer, Site, and Period pickers. octoja:
- Renders the template with the data for your chosen scope and period.
- Produces a PDF using the language currently set in your octoja UI (English or German).
- Downloads it to your browser as <slug>-<yyyy-mm-dd>.pdf, where <slug> is the template's stable built-in identifier or, for custom templates, the slugified template name.
Save or share the PDF the same way you would any other file your browser downloads.
Send reports automatically. Besides on-demand downloads, octoja can email report PDFs on a recurring basis. Click Scheduling in the top-right corner of the Reports page to create a schedule: pick the templates to include, set a customer (and optional site) scope, add recipient email addresses, and choose how often it runs. Each run renders the selected templates and emails the PDFs to those recipients.
Manage existing templates
From the template editor, the action menu (the ⋯ button in the page header) offers:
Built-in templates are fully read-only — you cannot edit their widgets, rename them, or delete them. To customize a built-in, use Clone in the action menu and modify the copy. To rename a custom template, switch to edit mode first, then click its title at the top of the template editor — in edit mode the title is an inline edit field.
Troubleshooting
The Create Template button does not appear. You do not have the Reports / Manage report templates permission. Built-in templates remain visible and generatable; only template creation, editing, and deletion are gated.
The Download button produces a PDF in the wrong language. The PDF language follows the UI language at the moment you click Download. Switch the language in your profile (open it via the user button in the bottom-left corner) and click Download again — octoja regenerates the PDF in the new language.
Some widget data looks empty. A widget renders empty when the scope you selected has no matching data — for example, the Recent Cases widget shows nothing if the chosen customer has no open cases in the period. Try widening the scope (clear the Site filter, or clear the Customer filter for a tenant-wide view) and regenerate.
A built-in template's name looks like a translation key (e.g. pages.reports.builtIns.executiveSnapshot.name). This indicates a missing translation in your octoja locale file — refresh the page or report it to support. The template still works; only the display label is affected.
Related articles
- Core RMM Capabilities — overview of the octoja permission model, including the
reports.managepermission required by this how-to. - Reports Reference — full data model, REST endpoints, widget catalogue, and layout grid for the Reports area.