Manage Cases
Cases let you track issues, tasks, and service requests in octoja. Assign to a user, link to a device, set priority, and add comments as work progresses.
Written By Erdinc Akay
Last updated 26 days ago
Cases let you track issues, tasks, and service requests from within octoja. You can assign a case to a user, link it to a specific device, set its priority, and add comments as work progresses. Every change is recorded in the case's history so the full context is always visible.
Before you start
- You need the Case Management permission (
tickets.manage) to create, update, delete, and comment on cases. Permissions are granted via groups under Administration → Groups. - Viewing cases requires the separate View Cases permission (
tickets.view) — without it, the Cases pages do not load.
Create a case
- Click Cases in the left sidebar.
- Click the Add Case button (plus icon).
- Fill in the fields:
Priority, assignee, customer, and device are set later from the case detail view — see Update a case below.
- Click Create. The case is assigned a sequential ID number.
The following walkthrough shows creating a case end-to-end — fill the title, fill the description, click Create, and the new case opens in its detail view:
Update a case
- Click on a case in the list to open it.
- Click the field you want to change — title, description, status, priority, or assignment.
- Edits save automatically as soon as you leave the field or pick a value. The case history records what changed, who changed it, and when.
A shortcut on the detail page speeds up a common update: click Assign to me next to the Assigned User field to take the case in one click. For recording effort, use the Tracked Time card described under Track time on a case below.
Case statuses
Track time on a case
The Tracked Time card on the case detail page records the effort spent on a case. It lists every time entry linked to the case — start time, end time, the device it was logged against (if any), the person who logged it, the duration, and an optional note — and shows the total tracked time across all entries.
Add a manual time entry
- Open the case and find the Tracked Time card.
- Click Add time entry.
- Fill in the fields:
- Click Add entry. The new entry appears in the card and the total updates.
A manual entry without a device is a case-only entry — useful for time spent on the case itself, such as a phone call or coordination, that does not belong to one device.
Link or unlink device time entries
Time that was tracked directly on a device can be attached to a case so the effort shows up in one place.
- To link a device time entry to the case, open that entry and choose Link case…, then pick the case.
- To unlink an entry, choose Unlink case. The time entry stays on the device but no longer counts toward the case total. You can link it to a different case afterwards.
Unlinking does not delete the entry — it only removes the connection to the case.
Add a comment
- Open the case.
- Type your comment in the Add a comment field at the bottom.
- Click the send (paper-plane) icon button inside the comment field to post it.
Comments appear in the case's activity feed in chronological order alongside history entries.

Filter and search cases
Use the filter controls at the top of the case list to narrow results:
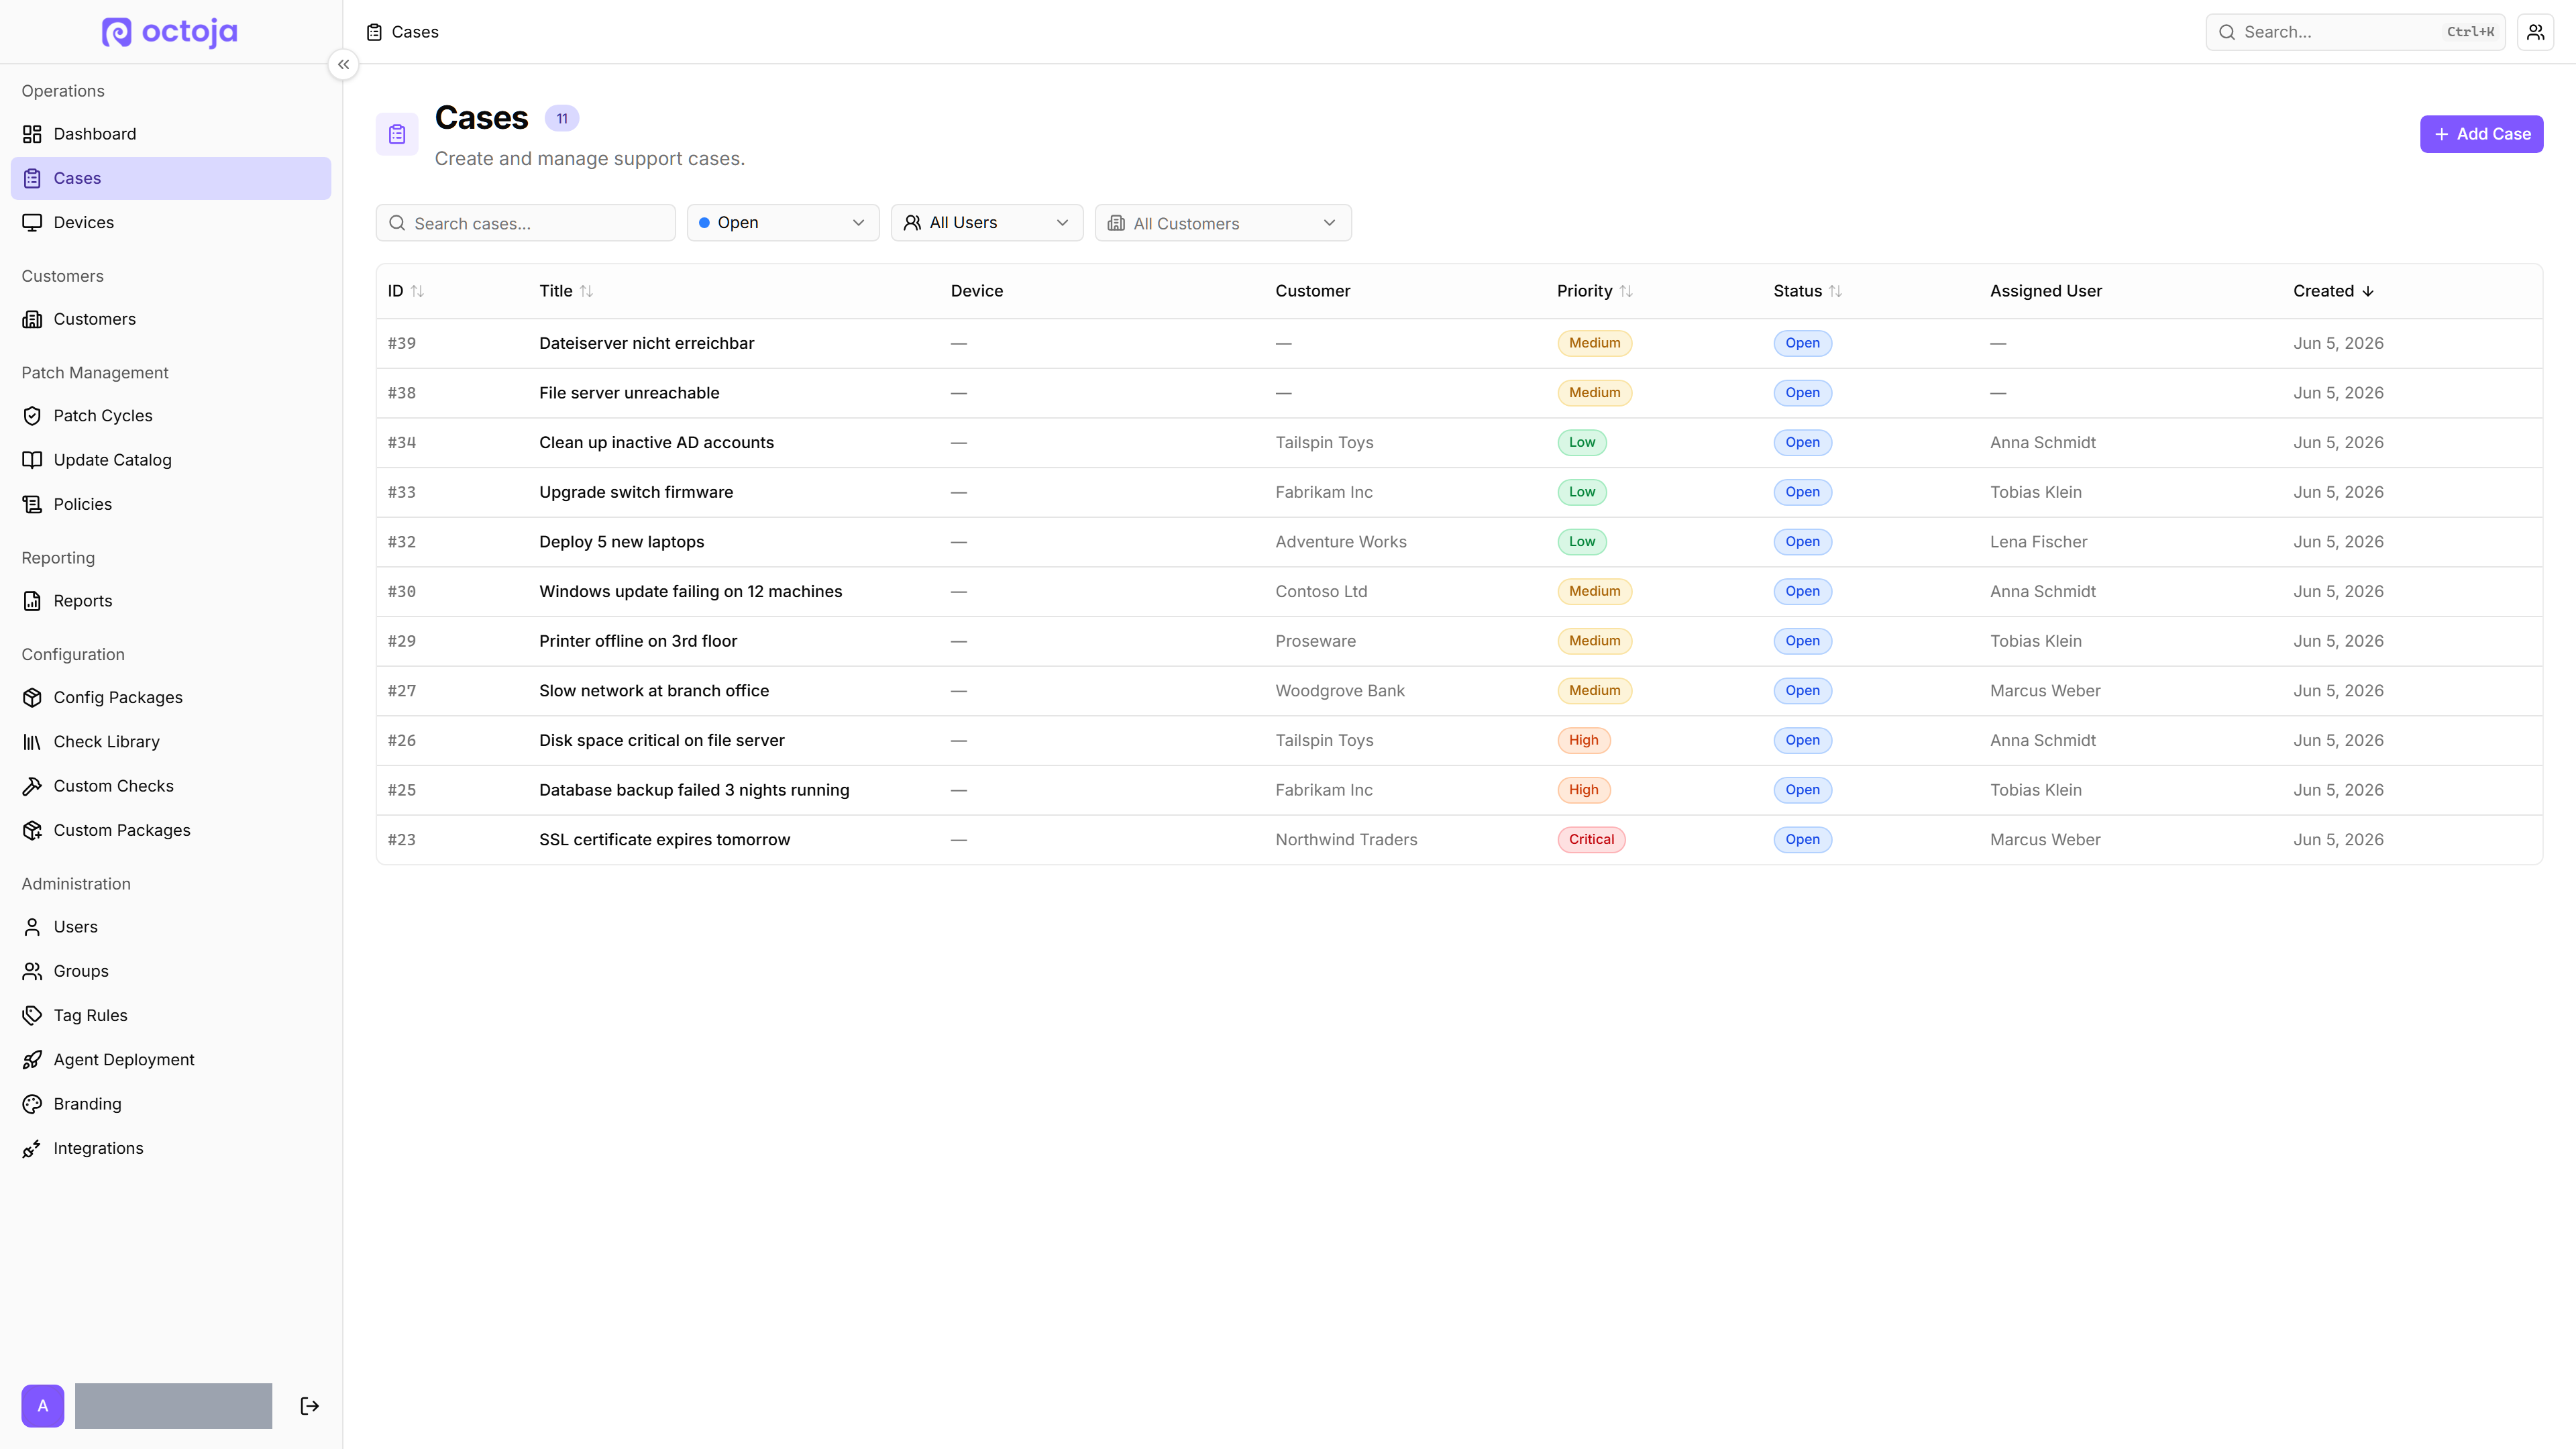
Click a column header to sort. Click again to reverse the order.
Delete a case
- Open the case.
- Scroll to the Danger Zone card at the bottom of the detail page.
- Click Delete and confirm.
Deleted cases are removed permanently. This action cannot be undone.
Tips
- Link cases to devices — when a case is linked to a device, the device record shows open cases. This makes it easier to see known issues when responding to alerts.
- Use priority consistently — Critical should mean "production down, immediate action needed". Reserve High for urgent but non-blocking issues.
- Close cases promptly — keeping cases up to date keeps your open-case count accurate and helps with reporting.