Configure a QNAP Check
Step-by-step guide to creating and configuring a QNAP check in octoja.
Written By Erdinc Akay
Last updated 26 days ago
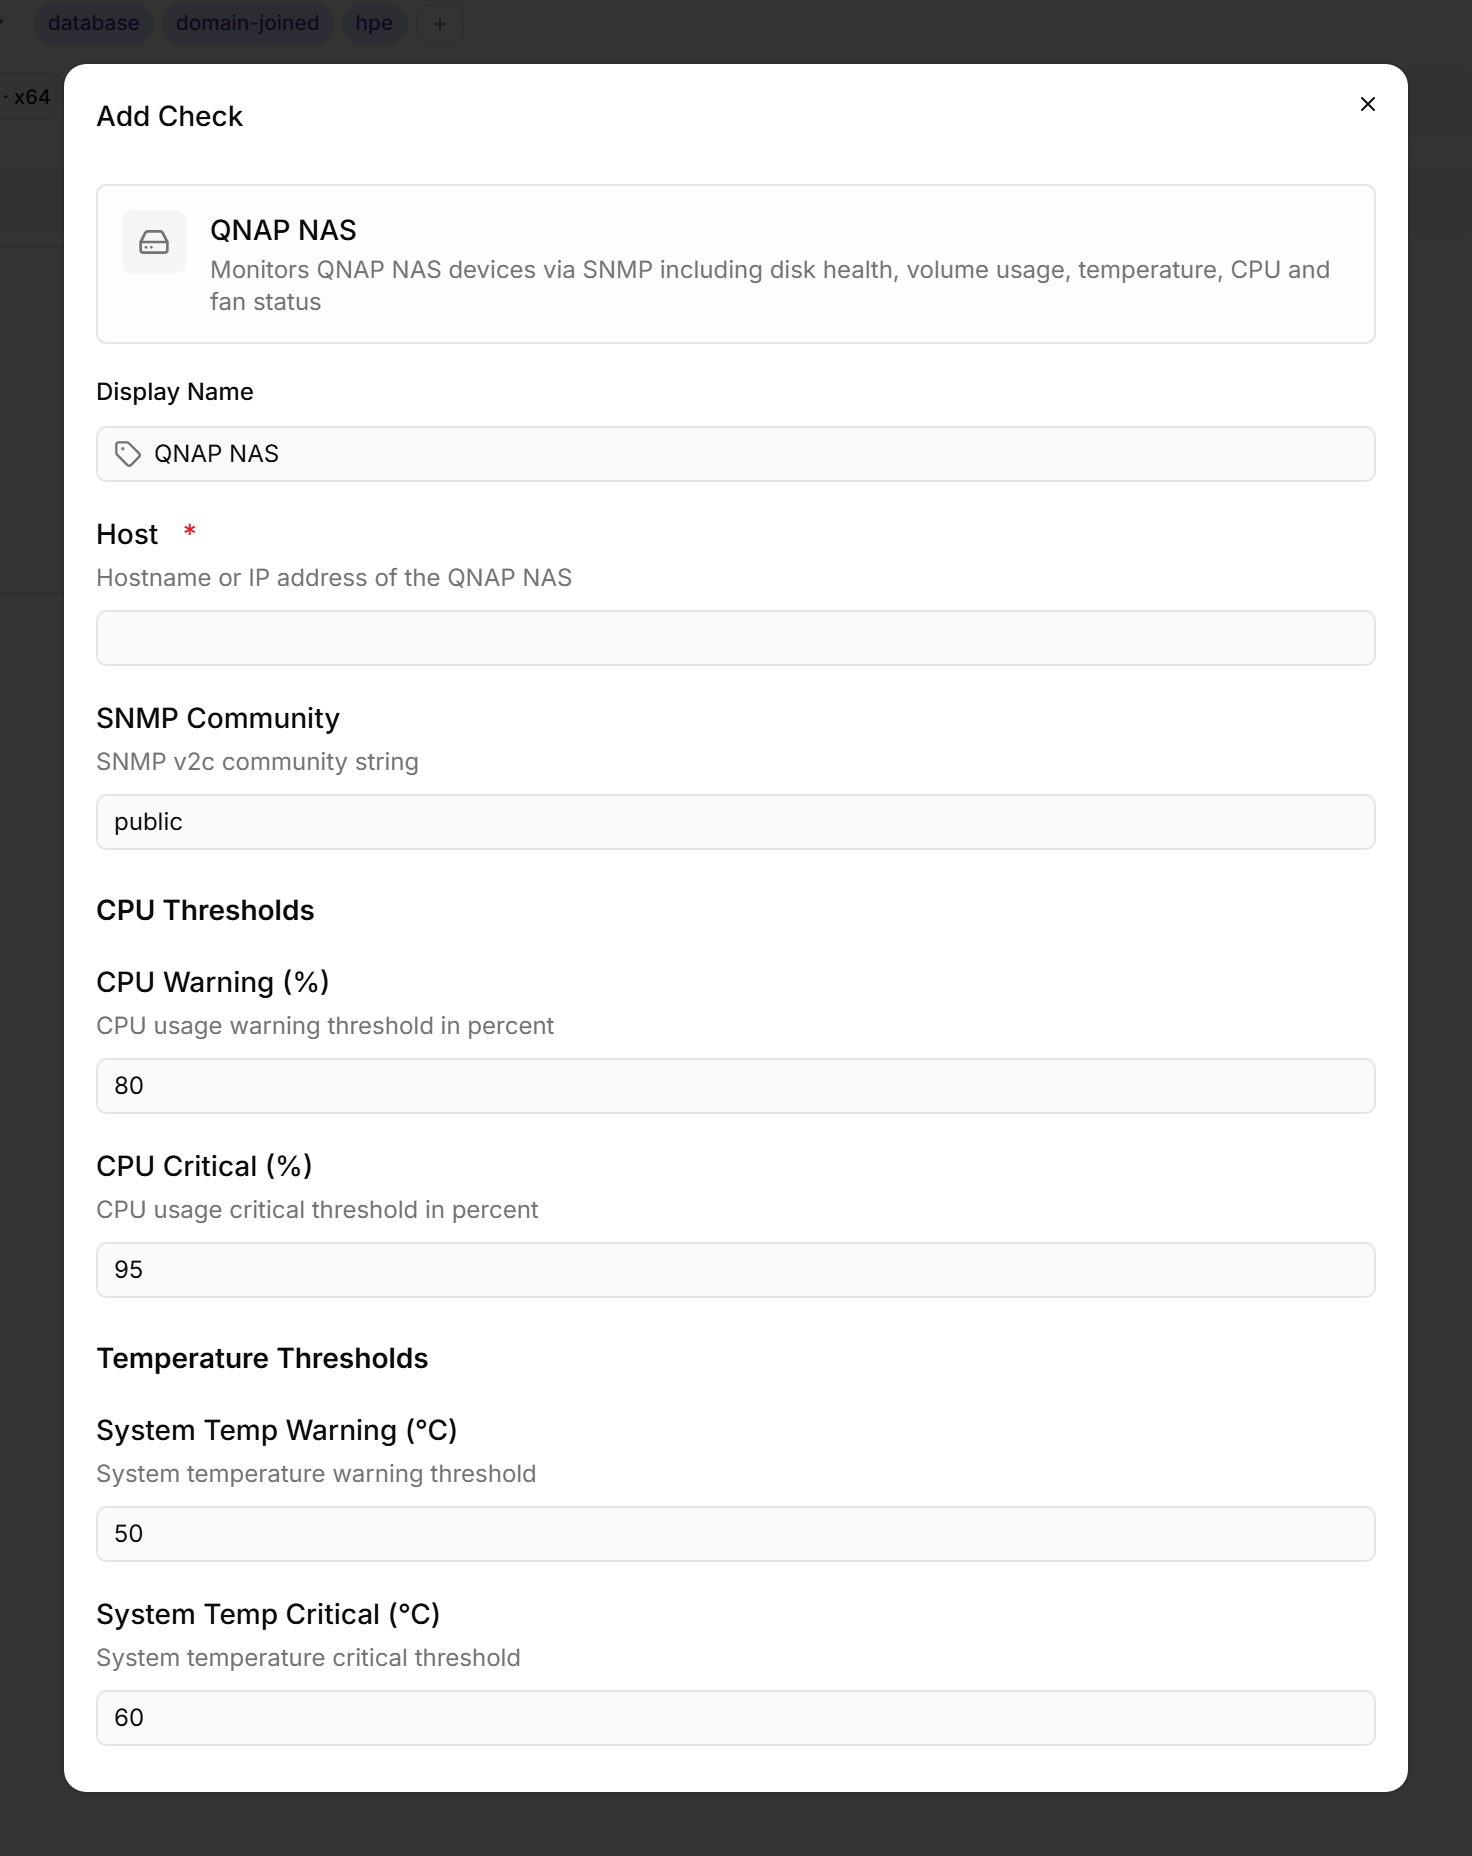
A QNAP Check monitors QNAP NAS devices via SNMP — disk health (including per-disk SMART status), volume usage, temperature, CPU load, and fan status. It gives you early warning of storage problems on your QNAP devices.
Prerequisites
- You need the Monitoring Check Management permission.
- The target device must have a connected agent with network access to the NAS.
- The QNAP NAS must have SNMP enabled with a known community string.
Steps
- Go to Devices and open the device that has network access to the QNAP NAS.
- Click the Checks tab → Add Check → QNAP NAS.
- Enter the NAS hostname or IP address in the Host field, and the community string under SNMP Community (default:
public). The SNMP version defaults to v2c; for SNMPv3 settings, see the QNAP Check Reference linked below. - Configure the thresholds:
- Click Add Check.
Tips
- SNMP must be enabled on the NAS itself before octoja can query it — enable it in the QNAP QTS Control Panel and use at least SNMPv2c with a community string that matches what you enter above. See QNAP's SNMP documentation for the exact steps on your QTS version.
- Set volume usage thresholds based on your capacity planning — NAS performance degrades significantly above 90% usage.
- This check covers hardware health. For file-level monitoring (backup freshness), use the File Age check.
After the first check interval, the result appears in the device's Checks tab.
See also: QNAP Check Reference